How to Make DIY Scented Candles for a Warm & Cozy Home
When I first started buying candles, I loved the cozy atmosphere they created, but I didn’t love the price tags or the long list of artificial ingredients I couldn’t even pronounce. One rainy weekend, I decided to try making my own, and to my surprise, it wasn’t complicated at all.
Pouring the wax, choosing a scent that matched my mood, and waiting for the candle to set felt less like a project and more like a ritual. The best part?
The result was cleaner, cheaper, and so much more personal than any store-bought candle I’d ever owned.
In this guide, I’ll walk you through how to make DIY scented candles at home. You’ll learn how to pick the best wax, blend fragrances that actually last, and style them so they look as beautiful as they smell.
By the end, you’ll not only have cozy candles for yourself but also a few thoughtful handmade gifts ready to share.
Choosing the Right Wax for Homemade Candles
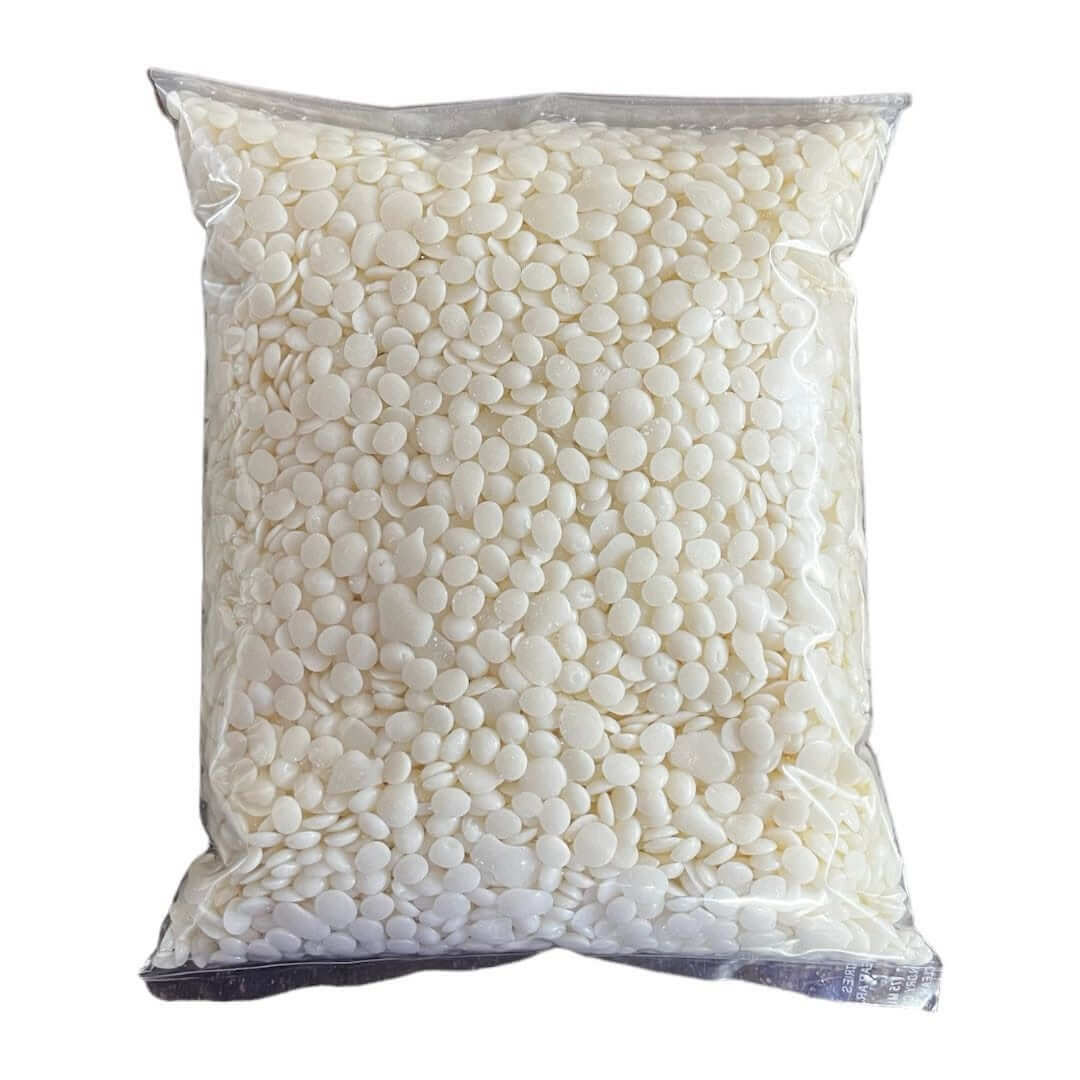
Soy wax
The wax you choose determines how your candle burns, how strong the fragrance will be, and even how much soot it produces. Here’s what I’ve found from experimenting:
- Soy Wax – A natural, eco-friendly choice that burns cleanly and holds fragrance well. The Spruce notes that soy is one of the best beginner-friendly waxes because it’s easy to work with and produces less soot. Personally, I use soy for everyday candles, it fills my living room without leaving black residue on the walls.
- Beeswax – Naturally golden with a light honey scent. I once used beeswax for a dinner party centerpiece, and the subtle aroma added rustic charm to the whole table.
- Paraffin Wax – Cheap and widely available, but petroleum-based and more likely to smoke. It throws fragrance strongly, but I skip it indoors.
- Coconut Wax – My go-to for gifts. It’s sustainable, slow-burning, and carries fragrance beautifully. Plus, the creamy texture makes the finished candle look luxurious.
👉 If you’re just starting out, soy wax is affordable and forgiving. Once you get the hang of it, try coconut wax.
Candle-Making Supplies You’ll Need
Having everything ready makes the process flow smoothly and keeps it fun instead of stressful.
Here’s what I keep in my little “candle kit basket”:
- Wax (soy, coconut, or your favorite)
- Cotton or wooden wicks
- Essential oils or fragrance oils
- Heat-safe jars, mugs, or tins
- A double boiler or microwave-safe container
- Wooden skewers or chopsticks for stirring
- Wick stickers or a dab of glue to anchor wicks
- Thermometer (optional but makes things easier)
When it’s all in one spot, I can start a batch on a whim, almost like brewing a pot of tea.
How to Choose Candle Scents

Fragrant candles
This part is where the magic happens. The fragrance you choose sets the mood of your space and can even affect how you feel.
- Relaxing scents: Lavender, chamomile, vanilla
- Energizing scents: Citrus, peppermint, eucalyptus
- Warm & cozy scents: Cinnamon, clove, sandalwood
- Seasonal blends: Pumpkin spice for fall, pine for winter, florals in spring, coconut in summer
Research shows scent directly impacts mood. Healthline explains that lavender is linked to reduced stress and better sleep, while citrus oils can boost energy and focus.
For me, lavender soy candles before bed are a lifesaver; they calm me better than scrolling my phone ever could. In winter, I like to mix orange and clove oils, and the result instantly smells like a holiday kitchen.
👉 Try creating your own signature blends. Some of my favorites came from happy accidents, like peppermint mixed with vanilla, it smells just like candy canes.
How to Melt Candle Wax

Image source: Ideogram
Wax melts best with gentle, even heat. You can use either of these methods:
- Double Boiler Method – Place your wax in a heatproof bowl over simmering water. It feels like cooking something special, and you have total control over the process.
- Microwave Method – Heat wax in short 30-second bursts, stirring between each round. It’s quick but requires patience so you don’t scorch the wax.
🌡️ For soy wax, aim for 170 to 180°F while melting. A simple kitchen thermometer is handy, but with practice, you’ll recognize the right consistency by sight.
Adding Fragrance & Pouring the Wax
The trick is timing. Add fragrance when the wax is hot enough to bind but not so hot that it evaporates.
Here’s what works for me:
- Remove melted wax from heat and let it cool slightly (around 140°F for soy).
- Add 20 to 30 drops of essential oil per 8 oz of wax. Stir slowly but thoroughly.
- Secure your wick in the jar with a sticker or dab of glue.
- Pour the scented wax gently into the container, holding the wick upright with a skewer.
The first time I did this with lavender oil, my kitchen filled with the scent before the candle even set. It felt like a little reward for the effort.
👉 Pro tip: Pour slowly to avoid air bubbles and uneven tops. Patience here really pays off.
How to Cure & Trim Your Candle
Curing might be the least exciting step, but it makes the biggest difference.
- Let your candles cure at least 48 hours before lighting. This allows the fragrance to fully bind with the wax. Some makers recommend up to a week for maximum scent throw.
- Always trim the wick to about ¼ inch before lighting. Trimming wicks is the easiest way to extend candle life and keep the burn clean.
I used to light mine the same night I poured them, and I was always disappointed with the weak scent. Now I wait a couple of days, and the payoff is huge.
Decorating & Personalizing Your Candles
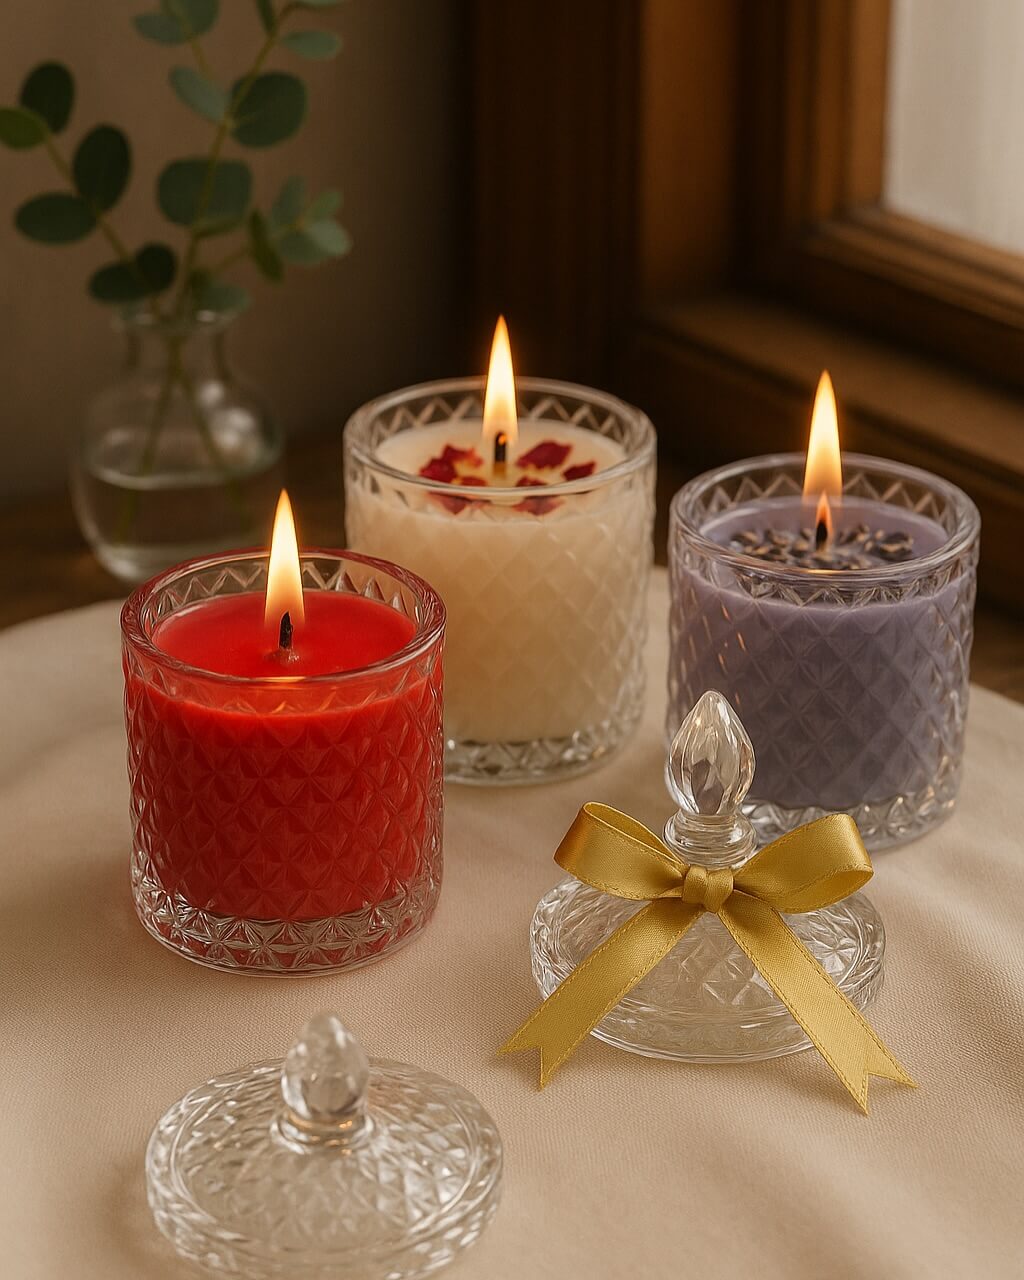
Personalized and decorated scented candles
This is where you can get creative and make each candle feel like a little piece of you.
- Dress up jars with twine, ribbon, or fabric scraps for rustic charm.
- Add dried herbs or flowers for a botanical vibe (lavender sprigs look stunning pressed against the glass).
- Label candles with the scent and pour date so that it feels professional and gift-ready.
Sometimes I pour candles into old travel mugs I’ve collected. Lighting a vanilla candle in my Paris mug always takes me back to mornings in a cafe.
That’s the beauty of DIY: you can infuse personal meaning into every piece.
Creative Ways to Use Homemade Candles
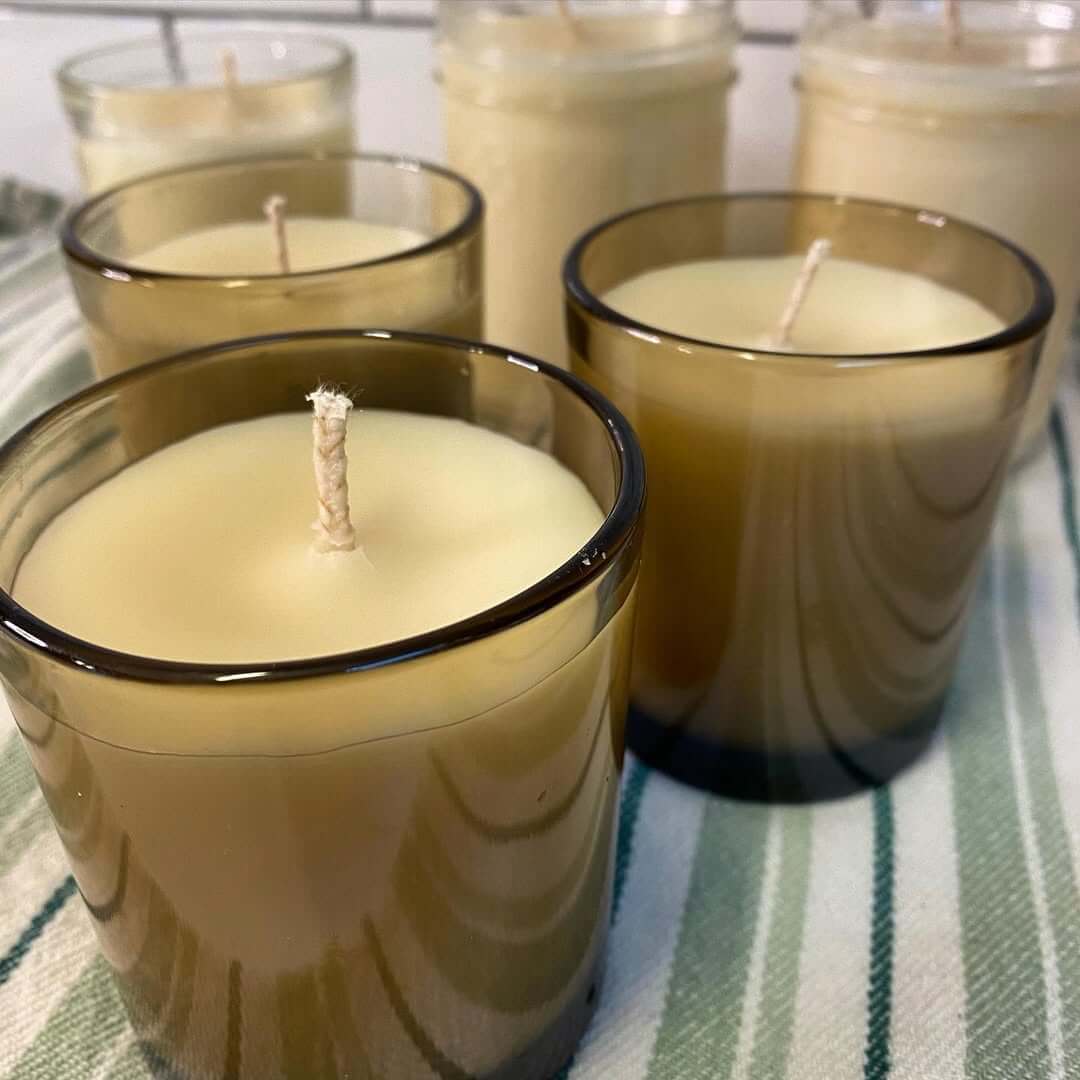
Image credit: Instagram@thehouseandhomestead
Handmade candles aren’t just decor. They can shape the way you experience your day-to-day life.
- Self-care rituals: A lavender candle during a bath feels like a mini spa day.
- Seasonal atmosphere: Pine or cinnamon scents instantly make my living room feel like Christmas.
- Memorable gifts: One Christmas, I gave everyone in my family personalized candles in jars with their names. They were a bigger hit than anything store-bought.
- Daily refresh: A citrus candle while cooking keeps the air fresh, while vanilla in the evenings helps me unwind.
Troubleshooting Candle-Making Problems
Even with the best setup, first batches don’t always come out perfect. Here’s how to fix common issues:
- Uneven burning – Trim the wick and let the wax pool reach the edges before blowing it out.
- Weak scent throw – Use high-quality oils and let the candle cure longer.
- Tunneling (wax sticking to sides) – Let the candle burn long enough on the first light (2 to 3 hours).
I’ve had candles tunnel because I blew them out too quickly, now I always give them enough time on that first burn.
Even with these quick fixes, it’s natural to still have questions when you’re just starting out, so let’s clear up some of the most common ones I get about DIY candle making.
FAQs About DIY Scented Candles
Do homemade candles smell as strong as store-bought ones?
Yes, if you use the right fragrance-to-wax ratio and allow proper curing. Soy and coconut wax hold scents better than beeswax.
How much essential oil should I add to soy candles?
A safe starting point is about 1 oz of fragrance oil per 1 lb of wax (or 20 to 30 drops of essential oil per 8 oz).
What’s the best wax for eco-friendly homemade candles?
Soy and coconut waxes are the cleanest-burning, most sustainable options. Beeswax is also natural but has a subtle honey scent.
Why is my candle tunneling?
Tunneling happens when the candle burns straight down the middle. Prevent it by letting the first burn last 2 to 3 hours so the wax pool reaches the edges.
Can I reuse old candle jars?
Absolutely. Just clean out the leftover wax with warm water and soap. Mason jars, mugs, and tins all work beautifully as long as they’re heat-safe.
How long should candles cure before burning?
At least 48 hours for soy and coconut, but a full week gives the strongest scent throw.
Final Thoughts
Making your own scented candles isn’t just about saving money; it’s about creating atmosphere, intention, and joy in everyday life. The glow of a handmade candle changes more than the lighting; it slows you down and makes the ordinary feel special.
For me, the first time I poured lavender soy candles, I realized it wasn’t just about fragrance. It was about creating a ritual at the end of the day, one I still look forward to.
And when you gift a homemade candle, it tells someone you spent time on them, not just money. In a world full of mass-produced things, that kind of intention stands out.
So whether you’re pouring candles for self-care, adding cozy vibes to your home, or surprising a loved one with a personalized gift, DIY candles are proof that small handmade touches can transform both a space and a mood.
RELATED: