Easy Gingerbread House Designs You’ll Love this Christmas
When the scent of ginger and cinnamon fills the kitchen, you know the holidays have truly started.
For me, building gingerbread houses has never been about perfection. It’s about laughter, sticky fingers, and a table covered in candy chaos that somehow turns into something beautiful.
Whether you’re decorating with kids, hosting friends, or carving out a cozy solo weekend, these gingerbread house designs fit any kind of Christmas. You’ll find easy ideas, smart shortcuts, and ways to make each one look like it took hours — even if it didn’t.
Grab your cocoa, open your favorite holiday playlist, and get ready to turn a simple tradition into a centerpiece you’ll actually be proud of.
Now, let’s begin with the easiest gingerbread house:
1. The Cozy Cabin

There’s something peaceful about a cabin tucked under frosting “snow.” This design feels warm, rustic, and a little nostalgic — like something straight out of a winter postcard.
Pretzel rods make convincing log walls, and shredded coconut doubles as fluffy snow.
According to The Spruce Eats, the trick to sturdy walls is royal icing, which dries hard and acts like glue. I use it for everything — even patching little gaps when the roof shifts.
Start with a simple kit, then layer pretzels horizontally for that log-cabin look. Stack chocolate caramels into a chimney and finish with a dusting of coarse sugar before the icing sets. The sparkle catches the light beautifully.
Try this: If your kitchen’s warm, pop the whole house in the fridge for 15 minutes before adding heavy candy — a trick King Arthur Baking recommends for cleaner finishes.
Next, let’s bring out the color with something a little more playful.
Also read:
Top 10 Color Trends for This Year’s Christmas
Burgundy Christmas Décor Themes to Inspire Your Holiday Styling
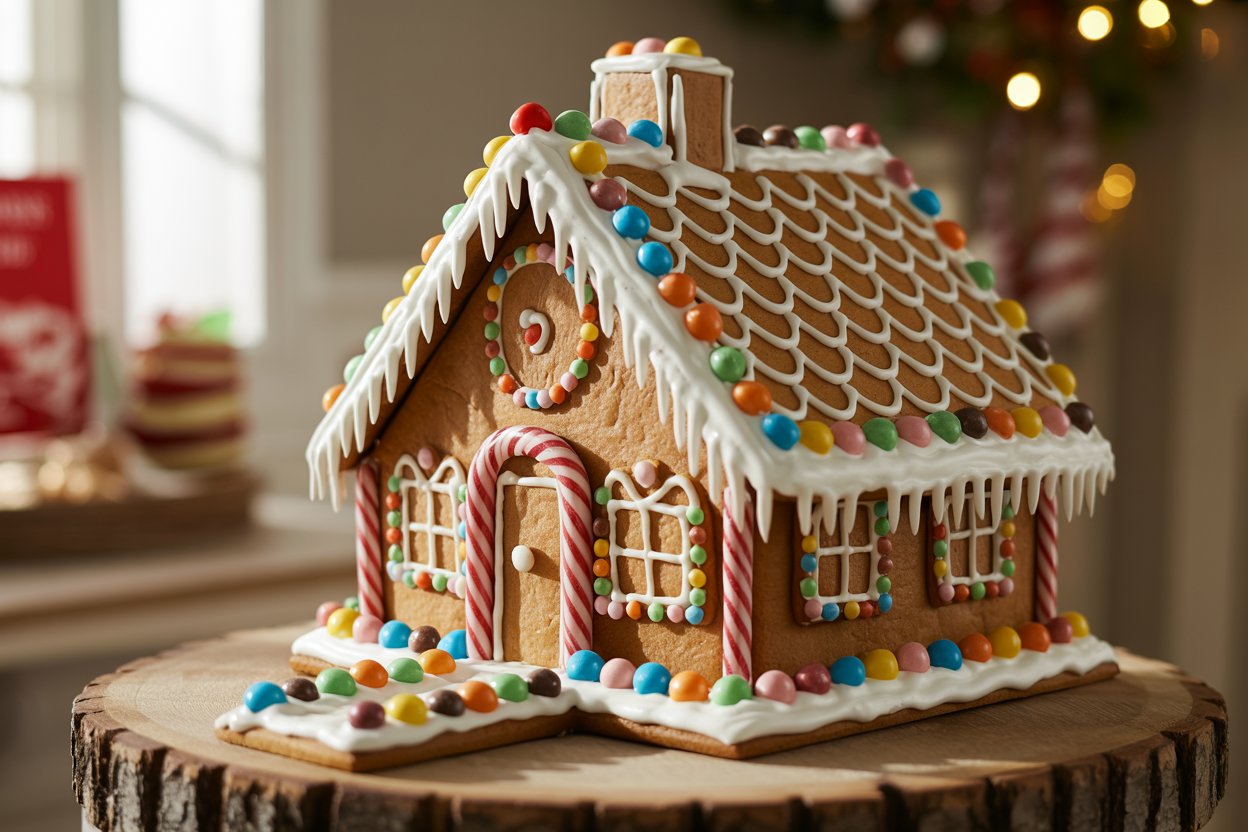
2. The Candy Cottage

This design brings out every kid’s dream — candy on candy, bright colors, and total joy. It’s the house that makes people smile before they even taste it.
Keep it balanced by sticking to two or three main candy colors. That way, it looks bold without becoming chaotic. Melted chocolate works better than frosting for the heavier candy, even Wilton confirms it sets faster with less mess.
Action step: Frame the windows with candy canes and crush peppermints for a walkway. If you’ve got leftover Halloween candy, mix it in — it adds texture and saves money. Let the house sit overnight so the icing hardens fully.
When you’re ready for something sleeker, the next design brings calm into the chaos.
3. The Modern Minimalist

If your style leans clean and calm, this Scandinavian-inspired design fits right in. Imagine a tiny white cottage glowing softly under string lights.
Martha Stewart Living suggests using crushed clear mints to create glass-style windows that melt during baking. It’s one of those small tricks that makes a house look professionally done without extra effort.
Smooth out the roof with a spatula, sprinkle pearl sugar for frost, and place a small LED tea light inside for a gentle glow.
Insider tip: Stick to whites, creams, and silvers so the textures stand out. Then set it beside your holiday candles or garland — the contrast feels modern but cozy.
Ready to scale it up? Let’s turn one house into a full winter village.
4. The Winter Wonderland Village

If one house feels lonely, build a neighborhood. Three or four mini houses arranged together tell a story — and they’re easier to make than one big one.
Better Homes & Gardens suggests adding powdered sugar “snow” and small trees to create a movie-scene effect. I like to set mine on a tray wrapped in foil so cleanup’s simple.
Try this: Build with graham crackers for smaller walls, then tuck tiny fairy lights between them. The glow bouncing off powdered sugar looks magical. Choose one color palette — soft blues, pastels, or all white — to keep the display looking pulled together.
Now, if you prefer something a little more farmhouse-chic, the next one’s for you.
5. The Gingerbread Farmhouse

This design feels like stepping into a country kitchen. Think white frosting trim, pastel candy wreaths, and gentle charm instead of candy chaos.
Homes & Gardens points out that store-bought kits are perfect starting points when you tweak the roof or trim. I like to add an extra cookie to shape a gable roof and pipe tiny dots around the windows for a lace effect.
Lifestyle twist: If you’re short on space, build your farmhouse on a wooden cutting board. It looks intentional and fits even on a small apartment counter. A few bottle-brush trees and a light dusting of sugar pull the whole look together.
Let’s wrap it up with a design that’ll make chocolate lovers melt.
6. The Chocolate Chalet
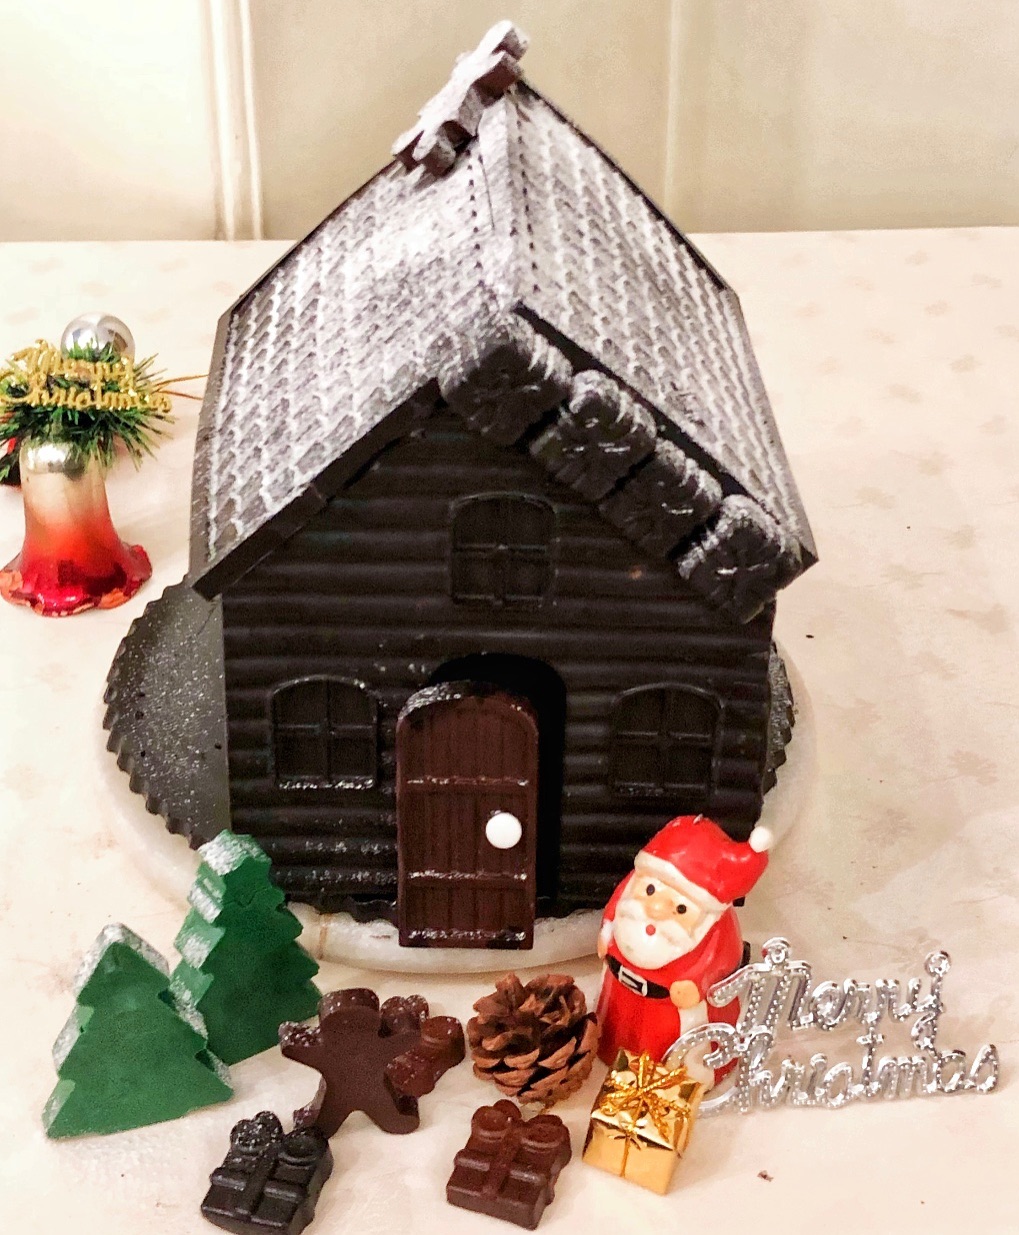
This one replaces gingerbread with pure chocolate — think of it as a snow-covered ski lodge made for dessert lovers. Use chocolate bars for the walls, wafers for the roof, and melted chocolate as glue.
To keep the display safe, NFPA recommends battery-powered LED candles instead of real ones. The glow feels cozy without the fire risk.
Pro tip: Once assembled, chill the house for 10 minutes so it firms up before you start decorating. Dust with cocoa powder for that lived-in mountain-cabin look.
Little Tricks That Make Every Gingerbread House Better
Even the prettiest design can wobble without the right prep. Before you start decorating, chill your cookie panels for a few minutes so the icing grips better.
If your icing recipe calls for raw egg whites, Iowa State University Extension recommends switching to pasteurized whites or meringue powder to keep your creation food-safe. Once built, store your house in a cool, dry spot away from humidity — it keeps the colors bright and the walls firm.
And don’t worry if your roof tilts a little. Sometimes those “flaws” are what make it yours — the tiny imperfections that turn a cookie house into a holiday memory.
If you’ve made it this far, you’re probably already picturing your own kitchen covered in frosting and candy wrappers. Before you start baking or shopping for supplies, these quick answers can help you skip common mistakes and make decorating a lot more fun.
FAQs: Easy Gingerbread House Designs
- How long will a gingerbread house last once it’s built?
If you’re using it for display only, most houses hold their shape for two to three weeks in a cool, dry room. Keep it away from direct sunlight or moisture. If it’s for eating, enjoy it within five days for the best flavor and texture.
- Can I make my house ahead of time?
Yes. Bake or buy the cookie panels up to a week in advance, then store them in an airtight container. Assemble and decorate the day before your gathering so the icing sets overnight.
- What’s the easiest type of icing for beginners?
Royal icing is the go-to for structure because it hardens fast and keeps everything in place. You can use meringue powder instead of raw egg whites for a food-safe version.
- How do I keep my roof from sliding?
Let each section dry for about 15 minutes before adding more pieces. You can also refrigerate the structure briefly to help the icing firm up faster.
- Can I decorate a gingerbread house without baking?
Absolutely. Pre-baked kits or graham crackers make it easy to skip the oven. They’re perfect for quick projects, classroom crafts, or small apartments where you want the fun without the cleanup.
Final Thoughts
Gingerbread houses aren’t about perfection—they’re about memory-making.
The crooked walls, uneven roofs, and candy-covered tables are what make it special. Each design you try this Christmas tells a story, one that smells like cinnamon and feels like home.
So grab your icing bag, cue up your holiday playlist, and make something that makes you smile.
And if you try one of these designs, I’d love to hear about it in the comments. What did yours look like? What tricks worked best for you?
Let’s keep the ideas (and the sugar) flowing.