How to Create a Hobby Room in the Space You Already Have
For a long time, I thought a hobby room was something you added after you had enough house.
You know the kind. A sunny spare bedroom with a long worktable, custom cabinets, beautiful shelves, and enough empty floor space to leave a project sitting out overnight.
That picture is lovely. It also makes a hobby room feel out of reach when every room in your home already has a job.
But a hobby room doesn’t have to be a room at all.
It can be the quiet end of your bedroom where nothing happens right now. It can share a wall with your home office. It can take over an underused closet, part of the guest room, or that awkward corner you’ve never quite known what to do with.
Once I started thinking about hobby spaces this way, the question changed. Instead of asking, “Where could I possibly fit another room?” I started asking, “How much space do I actually need to enjoy doing this?”
That small shift makes the project feel far more doable.
Take a quick look around your home before you buy anything. Notice the empty stretch beside a dresser, the unused end of a desk, the closet that could work harder, or the corner currently holding little more than a floor lamp and a basket.
One of those spots may already be enough.
The trick is choosing the right one and setting it up around the way you actually use your hobby. You’ll need enough room to work comfortably, somewhere for the supplies you reach for most, a safe place for unfinished projects, and a setup that doesn’t slowly swallow the room around it.
We’ll work through each of those decisions using the space you already have.
The first one has nothing to do with buying furniture.
Start With the Hobby, Not the Room
It is tempting to begin with the fun part.
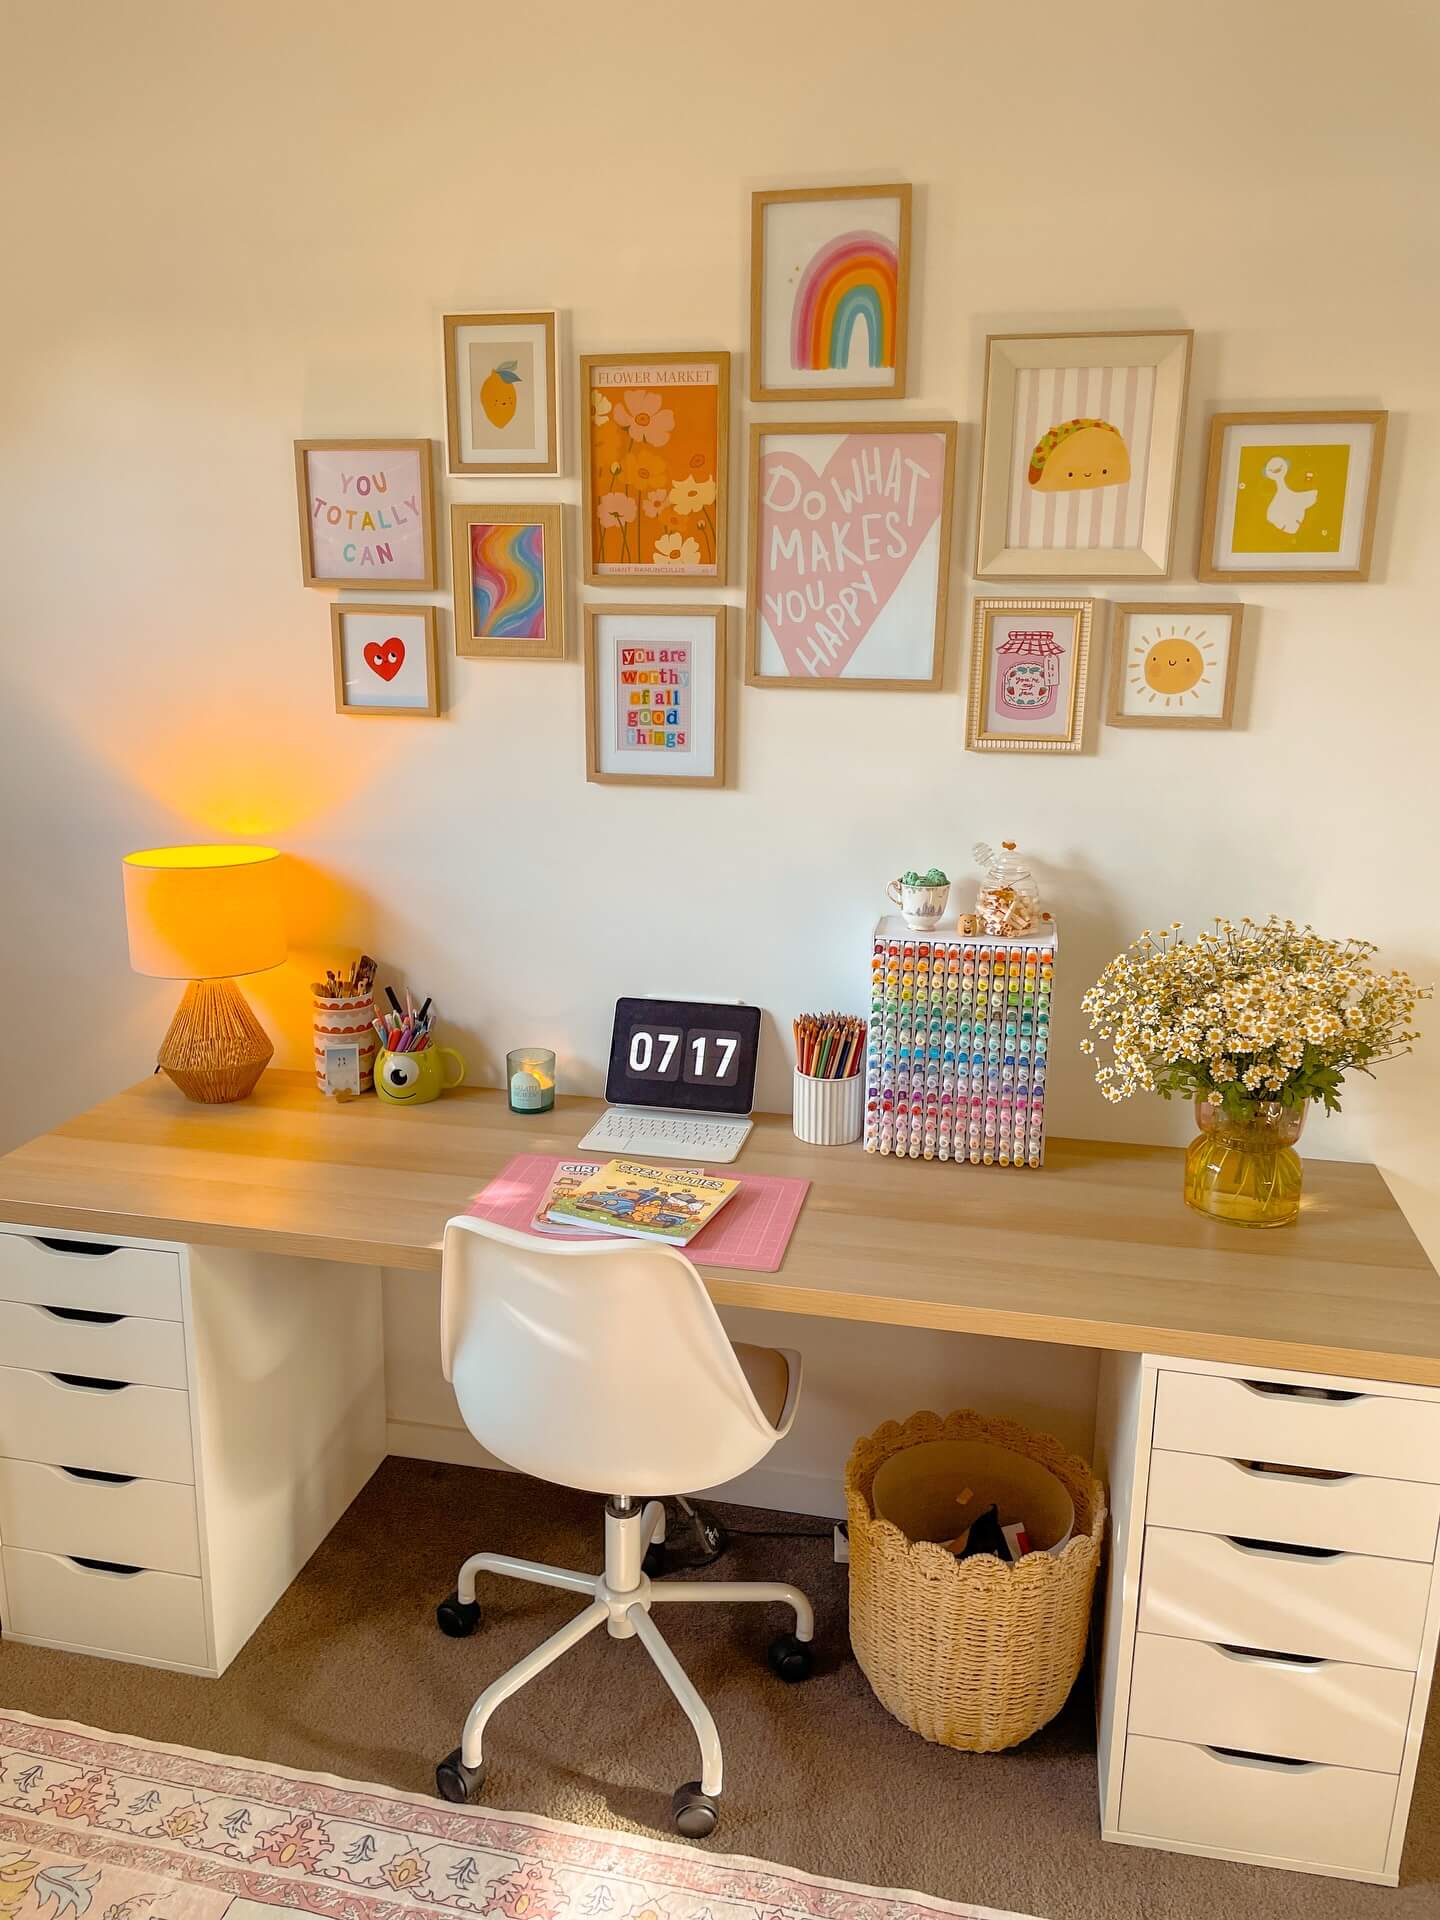
You find a desk you love, save a pegboard setup on Pinterest, and start picturing baskets, shelves, lamps, jars, and organizers.
I would hold off.
Sit down with the things you already use and picture a normal hobby session.
What do you reach for first? How much room does the project take once you spread it out? Do you sit the whole time, stand occasionally, or move between two surfaces?
A person who sews may need room for fabric to move across a table. Someone who paints may care more about having brushes and water within arm’s reach. Journaling may call for only a compact surface, while model building may need somewhere a half-finished piece can remain untouched.
That is why I like starting with the activity rather than the furniture.
Try this before you do anything else.
Put everything you normally use during one session on a table. Arrange it the way your hands naturally want it, not the way it looks nicest for a photo.
Then notice what happened.
Did your supplies spread farther than you expected? Did everything gather on one side? Was half of what you own never touched?
You may discover that you don’t need an entire hobby room. You need the right little zone.
Once you know what that zone must do, finding a place for it becomes much easier.
Look for the Space Your Home Isn’t Really Using
Now walk through your home differently.
Don’t search for an empty room. Search for square footage that isn’t giving you much back.
Look beside dressers, at the ends of hallways, inside roomy closets, along quiet bedroom walls, under windows, and in guest rooms that sit mostly untouched between visits.
A dining room may have one wall that does nothing. A home office may have an empty end that could take on a second job. Even a wide landing can deserve another look if it isn’t part of a busy walkway.
What matters is not whether the spot looks like a hobby room right now.
What matters is whether you can comfortably use it.
Sit there for a minute.
Picture the chair pulled out. Imagine opening the nearest door or drawer. Think about someone else walking through the room while you’re working.
A corner that photographs beautifully but makes everyday movement awkward will get old quickly.
You can learn even more before moving a single piece of furniture.
Try the Painter’s Tape Test Before Moving Anything
Painter’s tape can save you from a bad layout.
Use it to mark the footprint of the desk, table, cabinet, or cart you’re thinking about placing in the room.
Mark both width and depth.
Then bring over a chair and use the taped area as though the furniture were already there.
Pull the chair back. Walk around it. Open nearby drawers. Open the closet door. Carry a laundry basket past it if that is something you normally do in the room.
Leave the tape down for a day or two if you can.
You’ll start noticing things that are easy to miss while staring at measurements on a product page.
Maybe the desk fits, but the chair makes the walkway tight. Maybe a smaller table leaves enough room for a rolling cart. Maybe the corner you assumed was too small feels perfectly comfortable once you test it.
That little experiment gives you a much better starting point than guessing.
Once the footprint feels right, give the hobby space an edge.
Give Your Hobby Space a Clear Boundary
A hobby corner inside another room can feel intentional without adding a wall.
It just needs a visible stopping point.
A rug can mark the floor area. A narrow bookcase can create a soft divide. A lamp can visually anchor the desk. Wall storage can keep the hobby concentrated in one place.
In a bedroom, keeping most hobby supplies on one wall can prevent the setup from spreading across the room.
In a living area, a cabinet with doors can help the hobby corner quiet down when you’re finished.
If the space shares a home office, you might keep hobby supplies at one end of the desk rather than mixing them into your work setup.
Here is why this matters.
Without a boundary, hobby supplies tend to travel.
A basket moves beside the sofa. The cutting mat stays on the dining table. Brushes land on a windowsill. An unfinished project takes over a chair.
When the hobby has a defined home, putting things back becomes much easier.
And the center of that little zone should be the surface where the hobby actually happens.
Build the Space Around One Good Work Surface
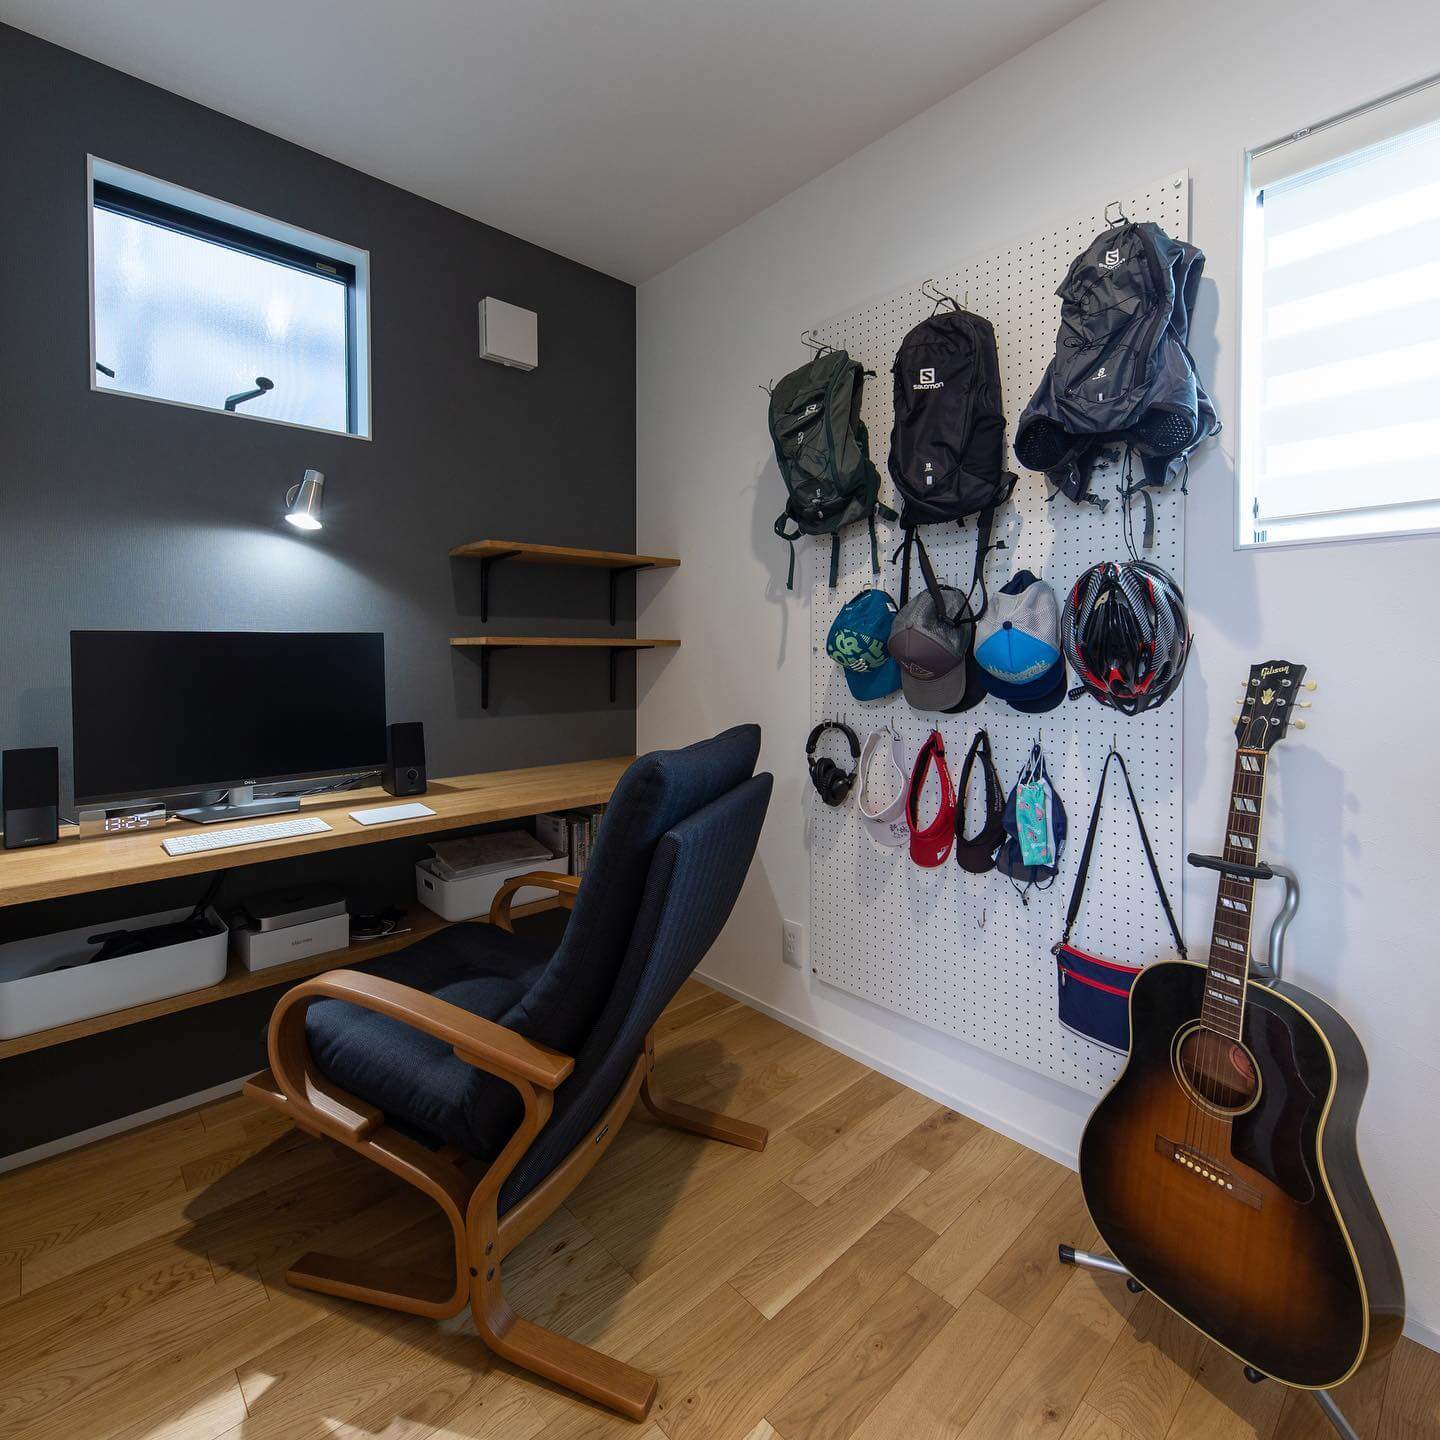
If you have limited room, give more attention to the work surface than the decorative extras around it.
Put your current project on a table and spread everything out exactly as you would during a normal session.
Now look at the space you’ve naturally occupied.
That is the footprint worth paying attention to.
A narrow console may fit beautifully against the wall but become irritating once you add a sewing machine, sketchbook, cutting mat, paint palette, laptop, or project pieces.
Depth can matter just as much as width.
Sit down and imitate what you actually do.
Reach for tools. Move your elbows. Lean closer. Push the chair back. Place a container beside the project.
You should be testing the furniture against your hobby, not forcing your hobby to fit the furniture.
And if permanent furniture takes up more room than you can spare, you still have options.
Make the Work Surface Disappear When You Don’t Need It
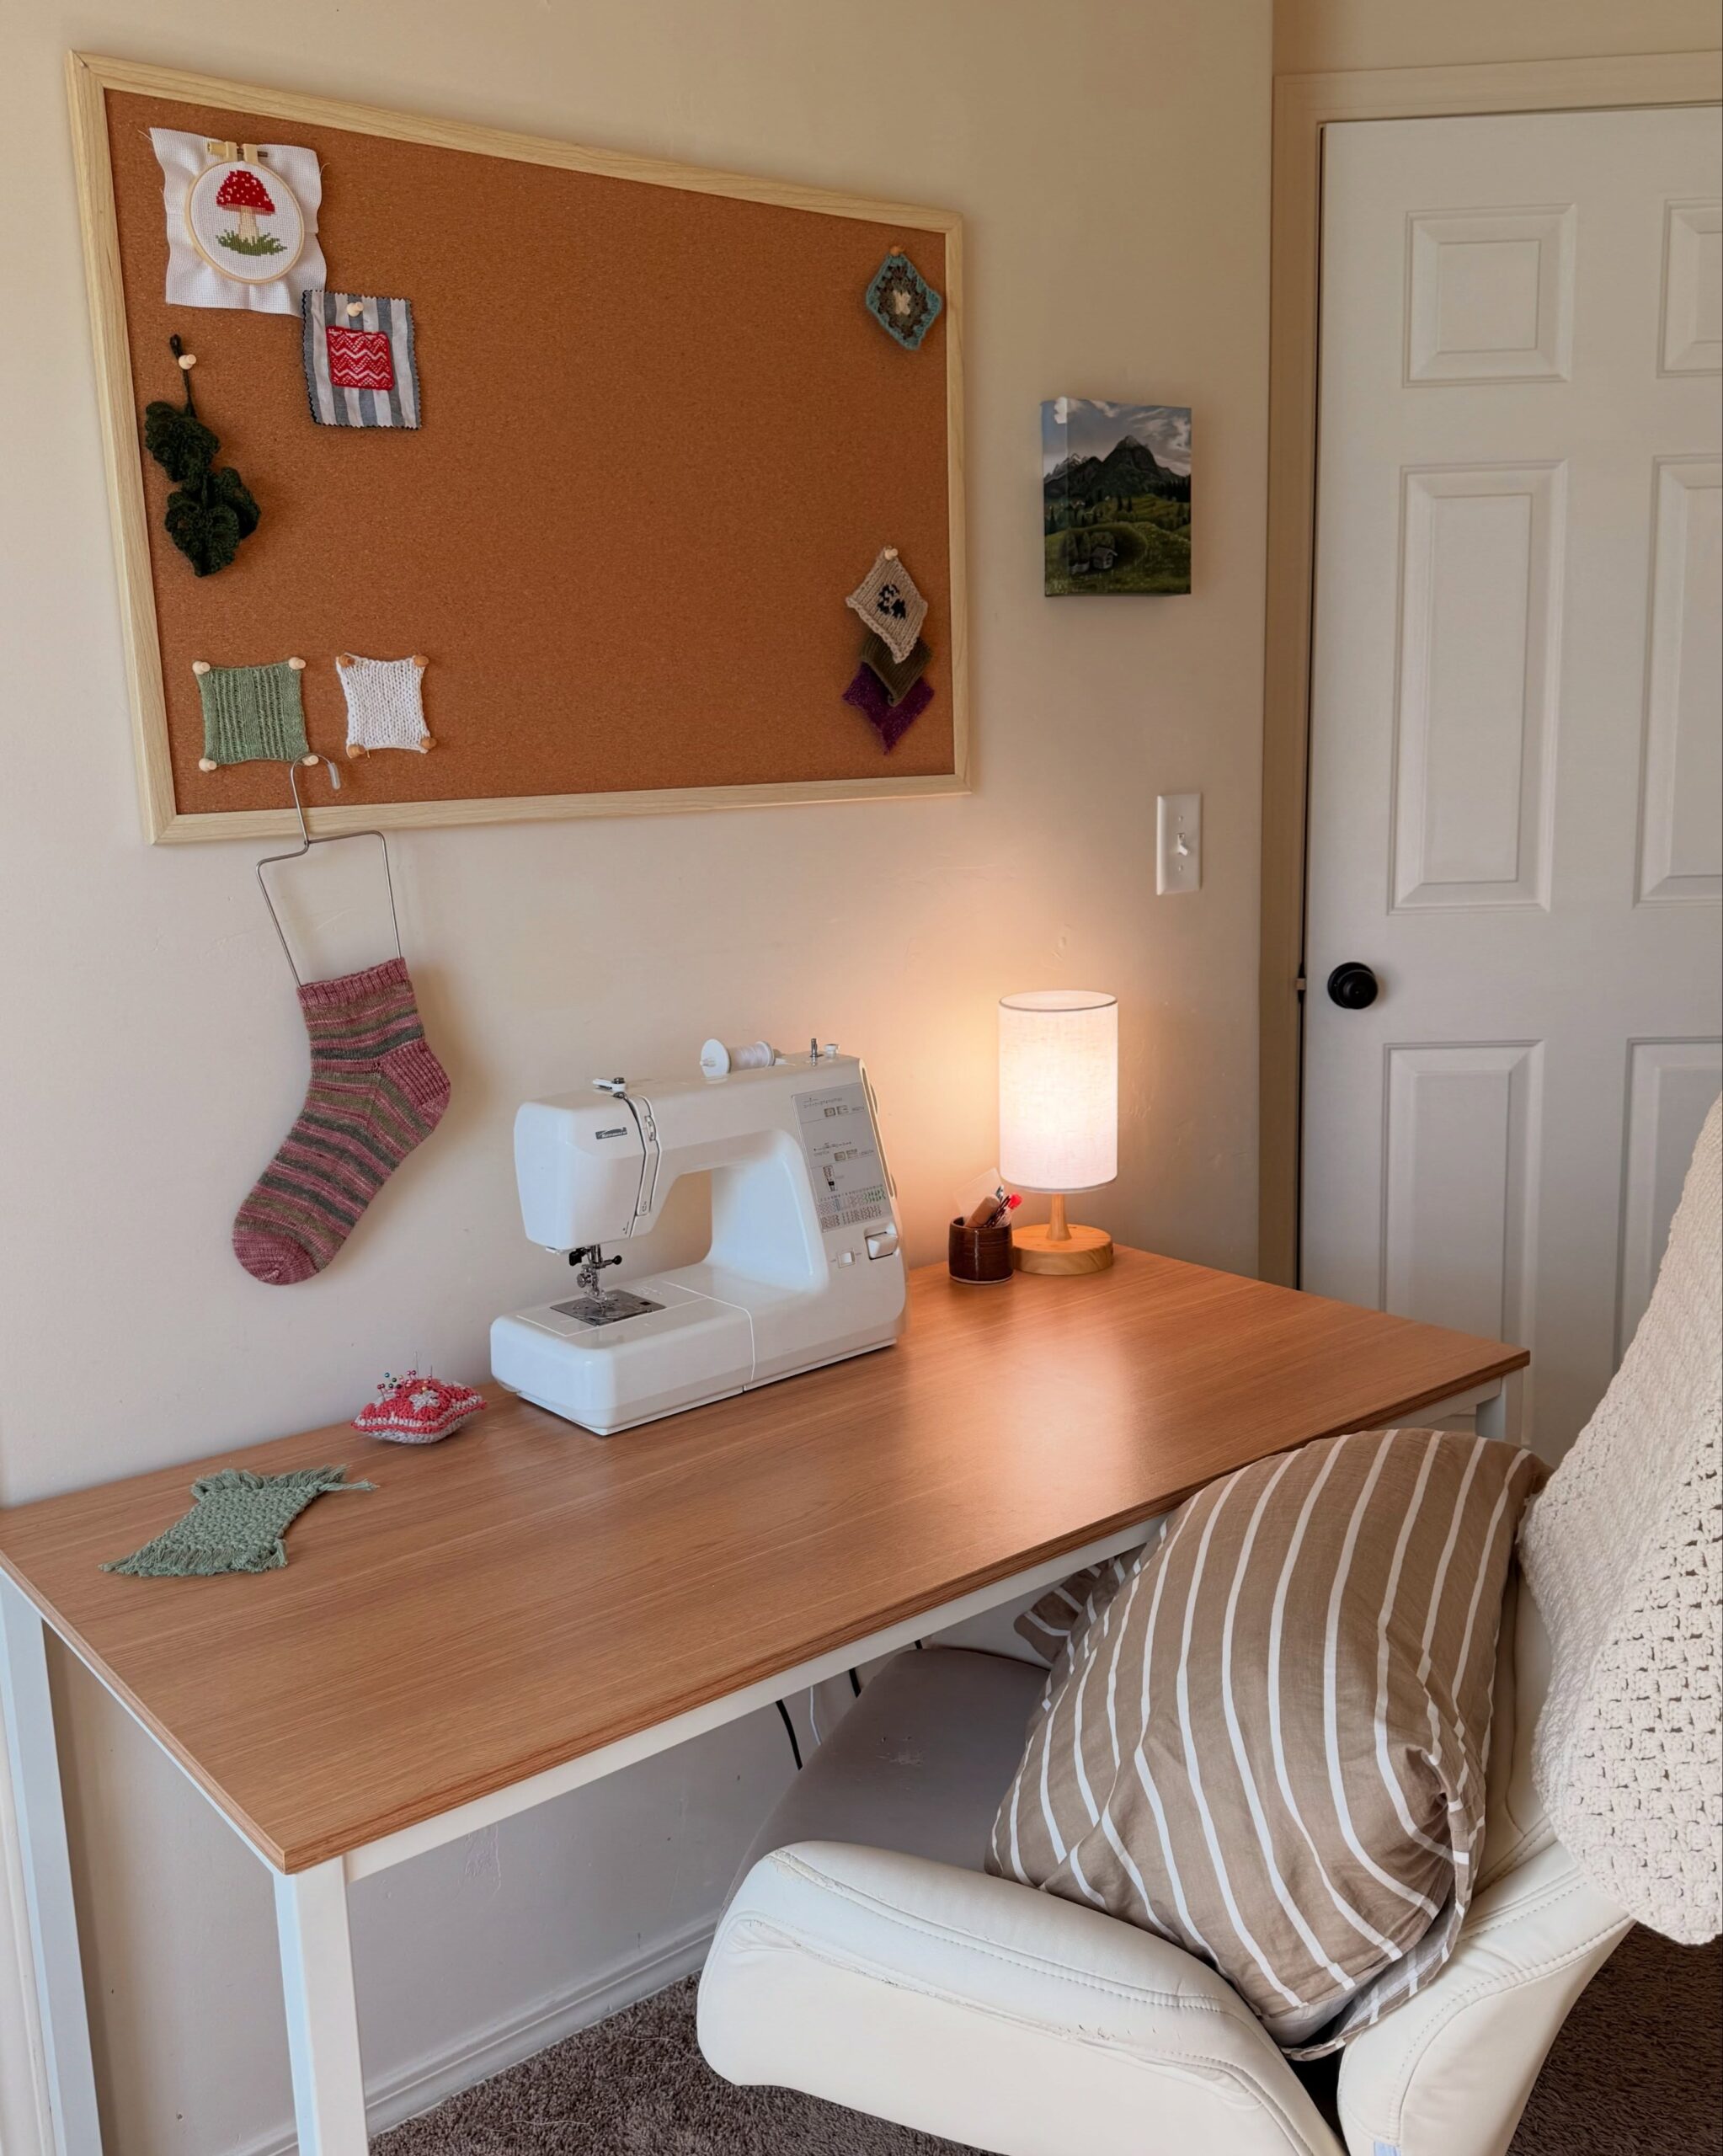
Small homes often ask one area to do several jobs.
A drop-leaf table can stay narrow most of the week and open when you’re ready to work. A wall-mounted folding desk can give you temporary surface space without permanently filling the floor.
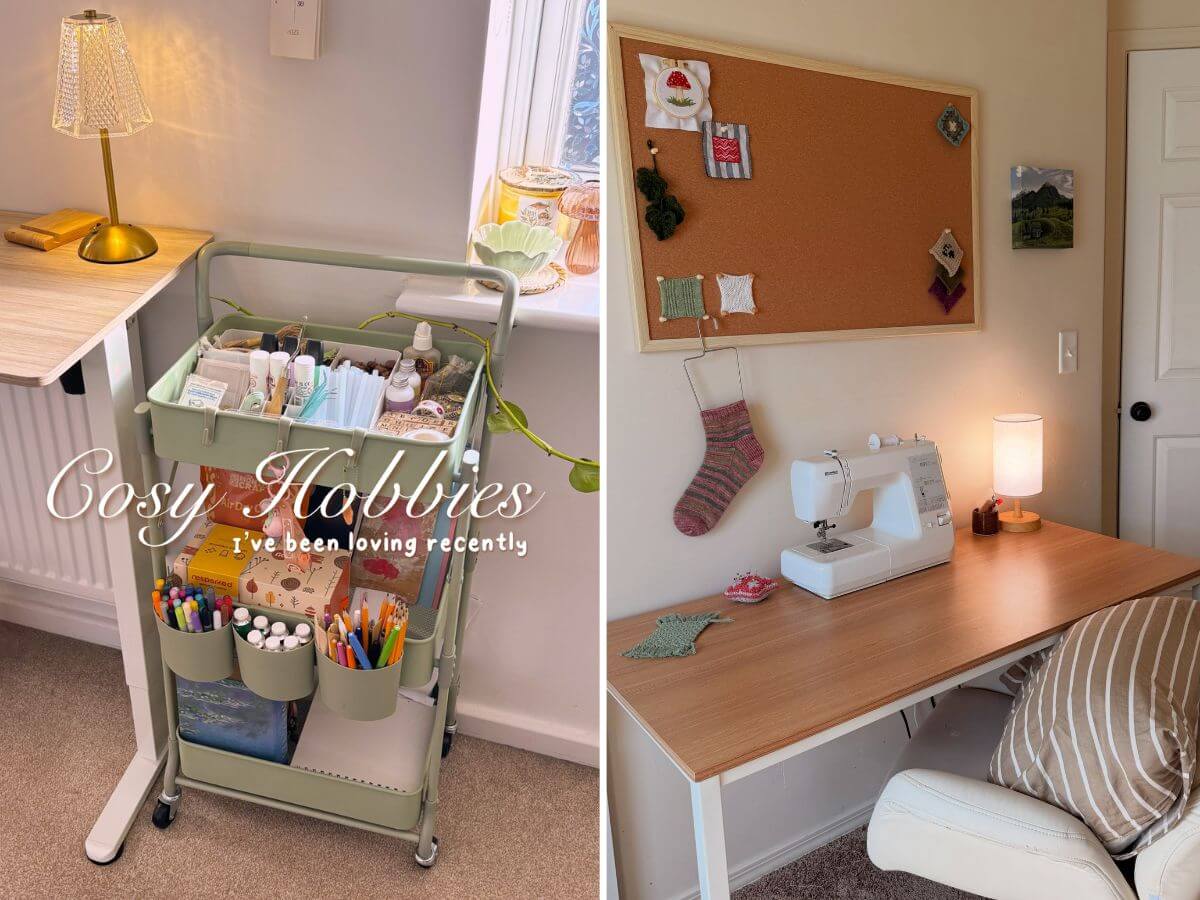
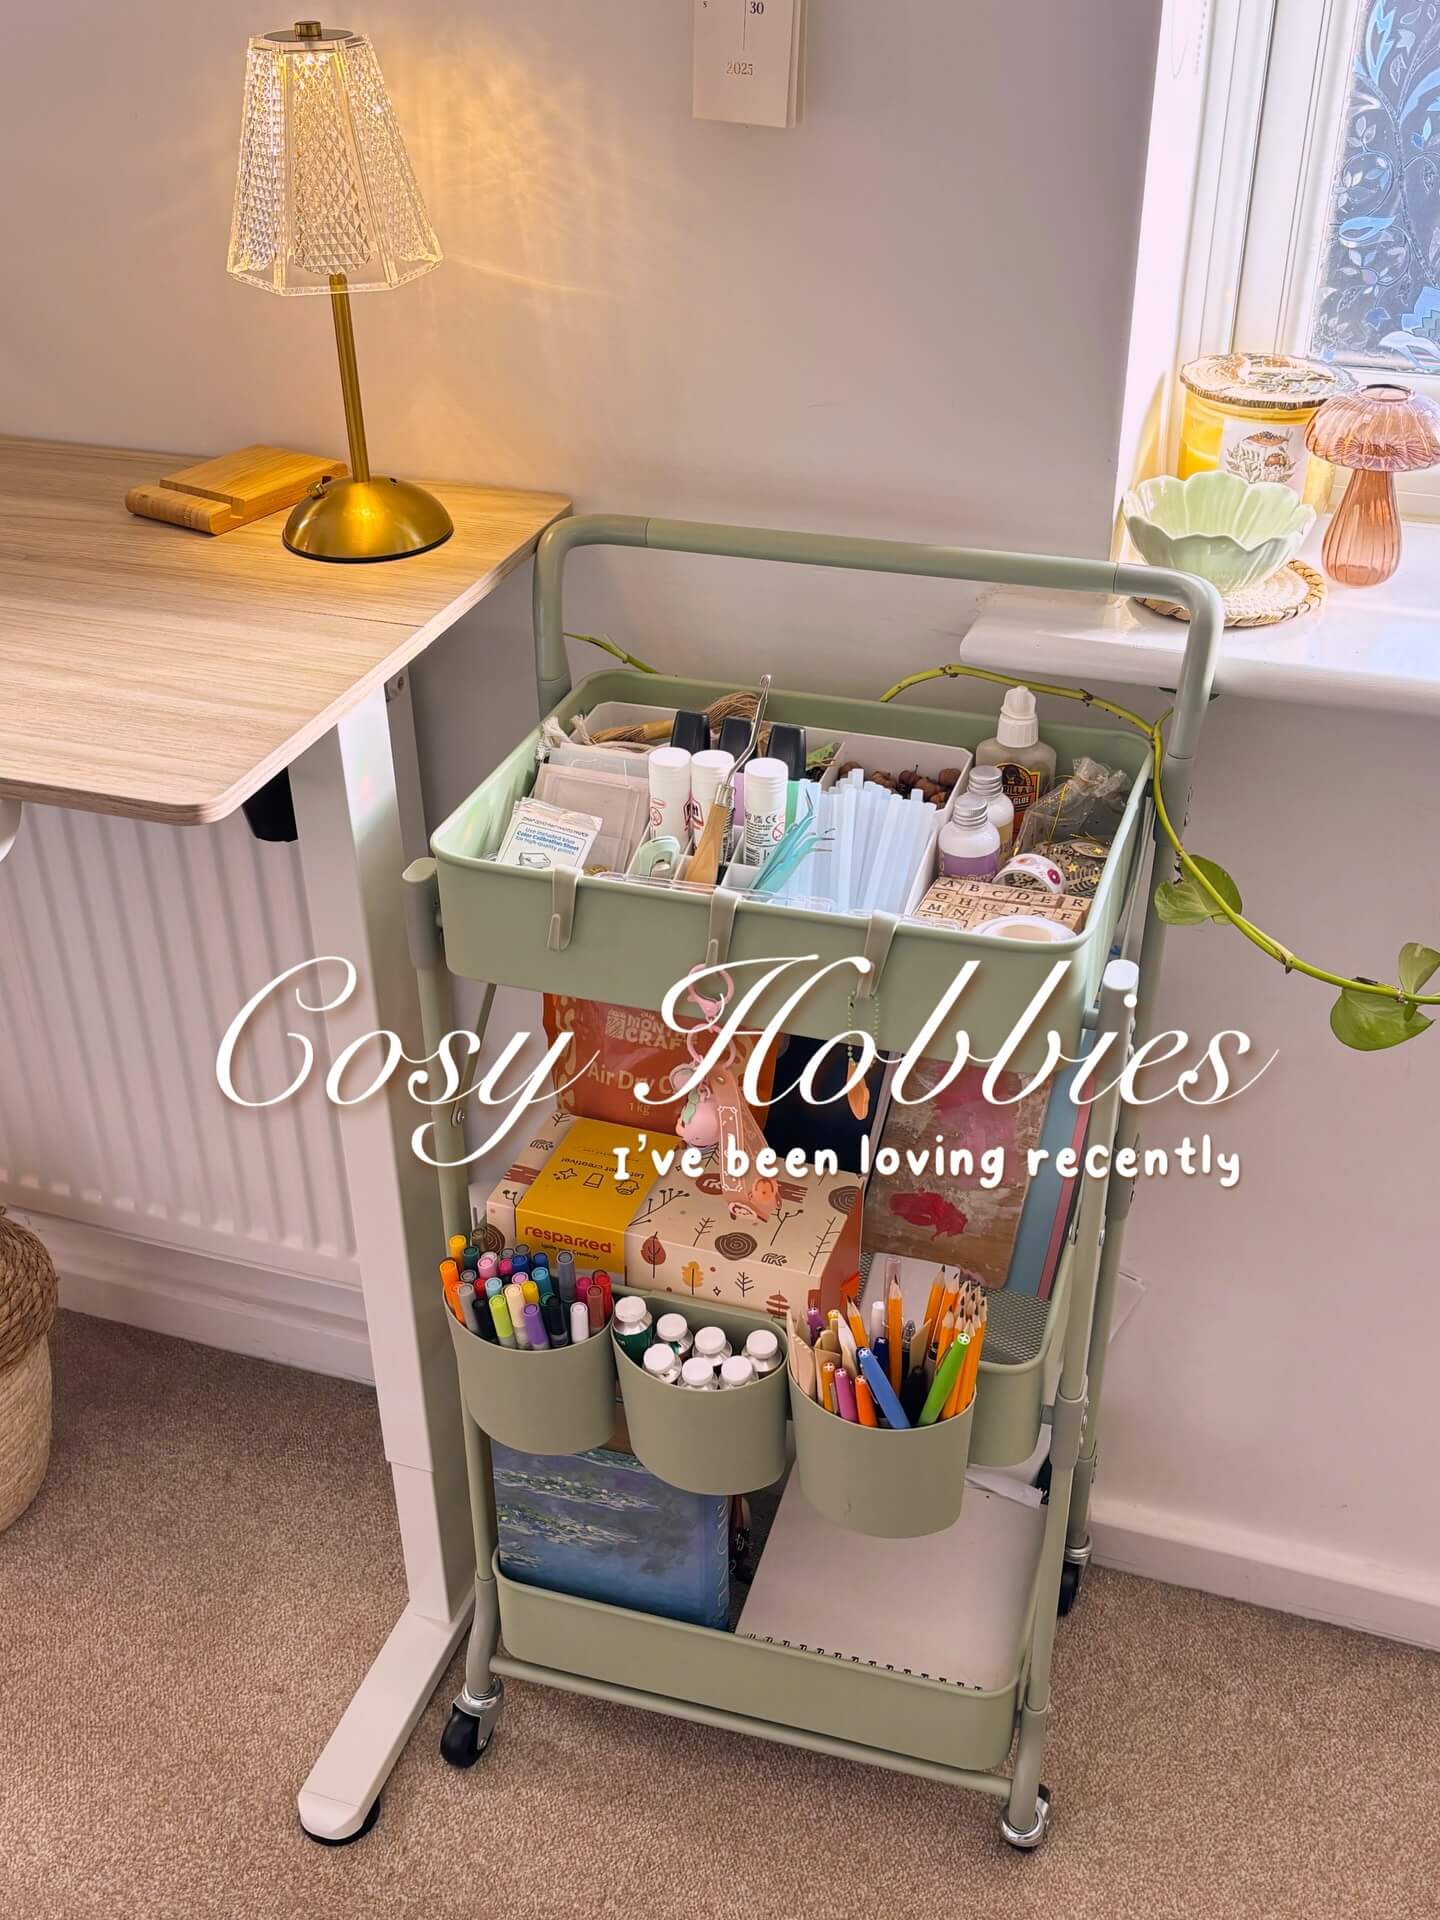
A rolling cart can also turn an existing dining table or desk into a hobby station.
Wheel it over when you’re ready. Return it when you’re done.
This works best when the setup doesn’t become a chore.
If starting your hobby means moving six boxes, clearing half the room, hunting for a cable, and carrying supplies from another floor, even a beautiful setup can become something you rarely use.
Try to shorten the distance between “I have a little free time” and “I’m working on my project.”
Where you store your supplies has a lot to do with that.
Put the Things You Use Most Where Your Hands Can Reach Them
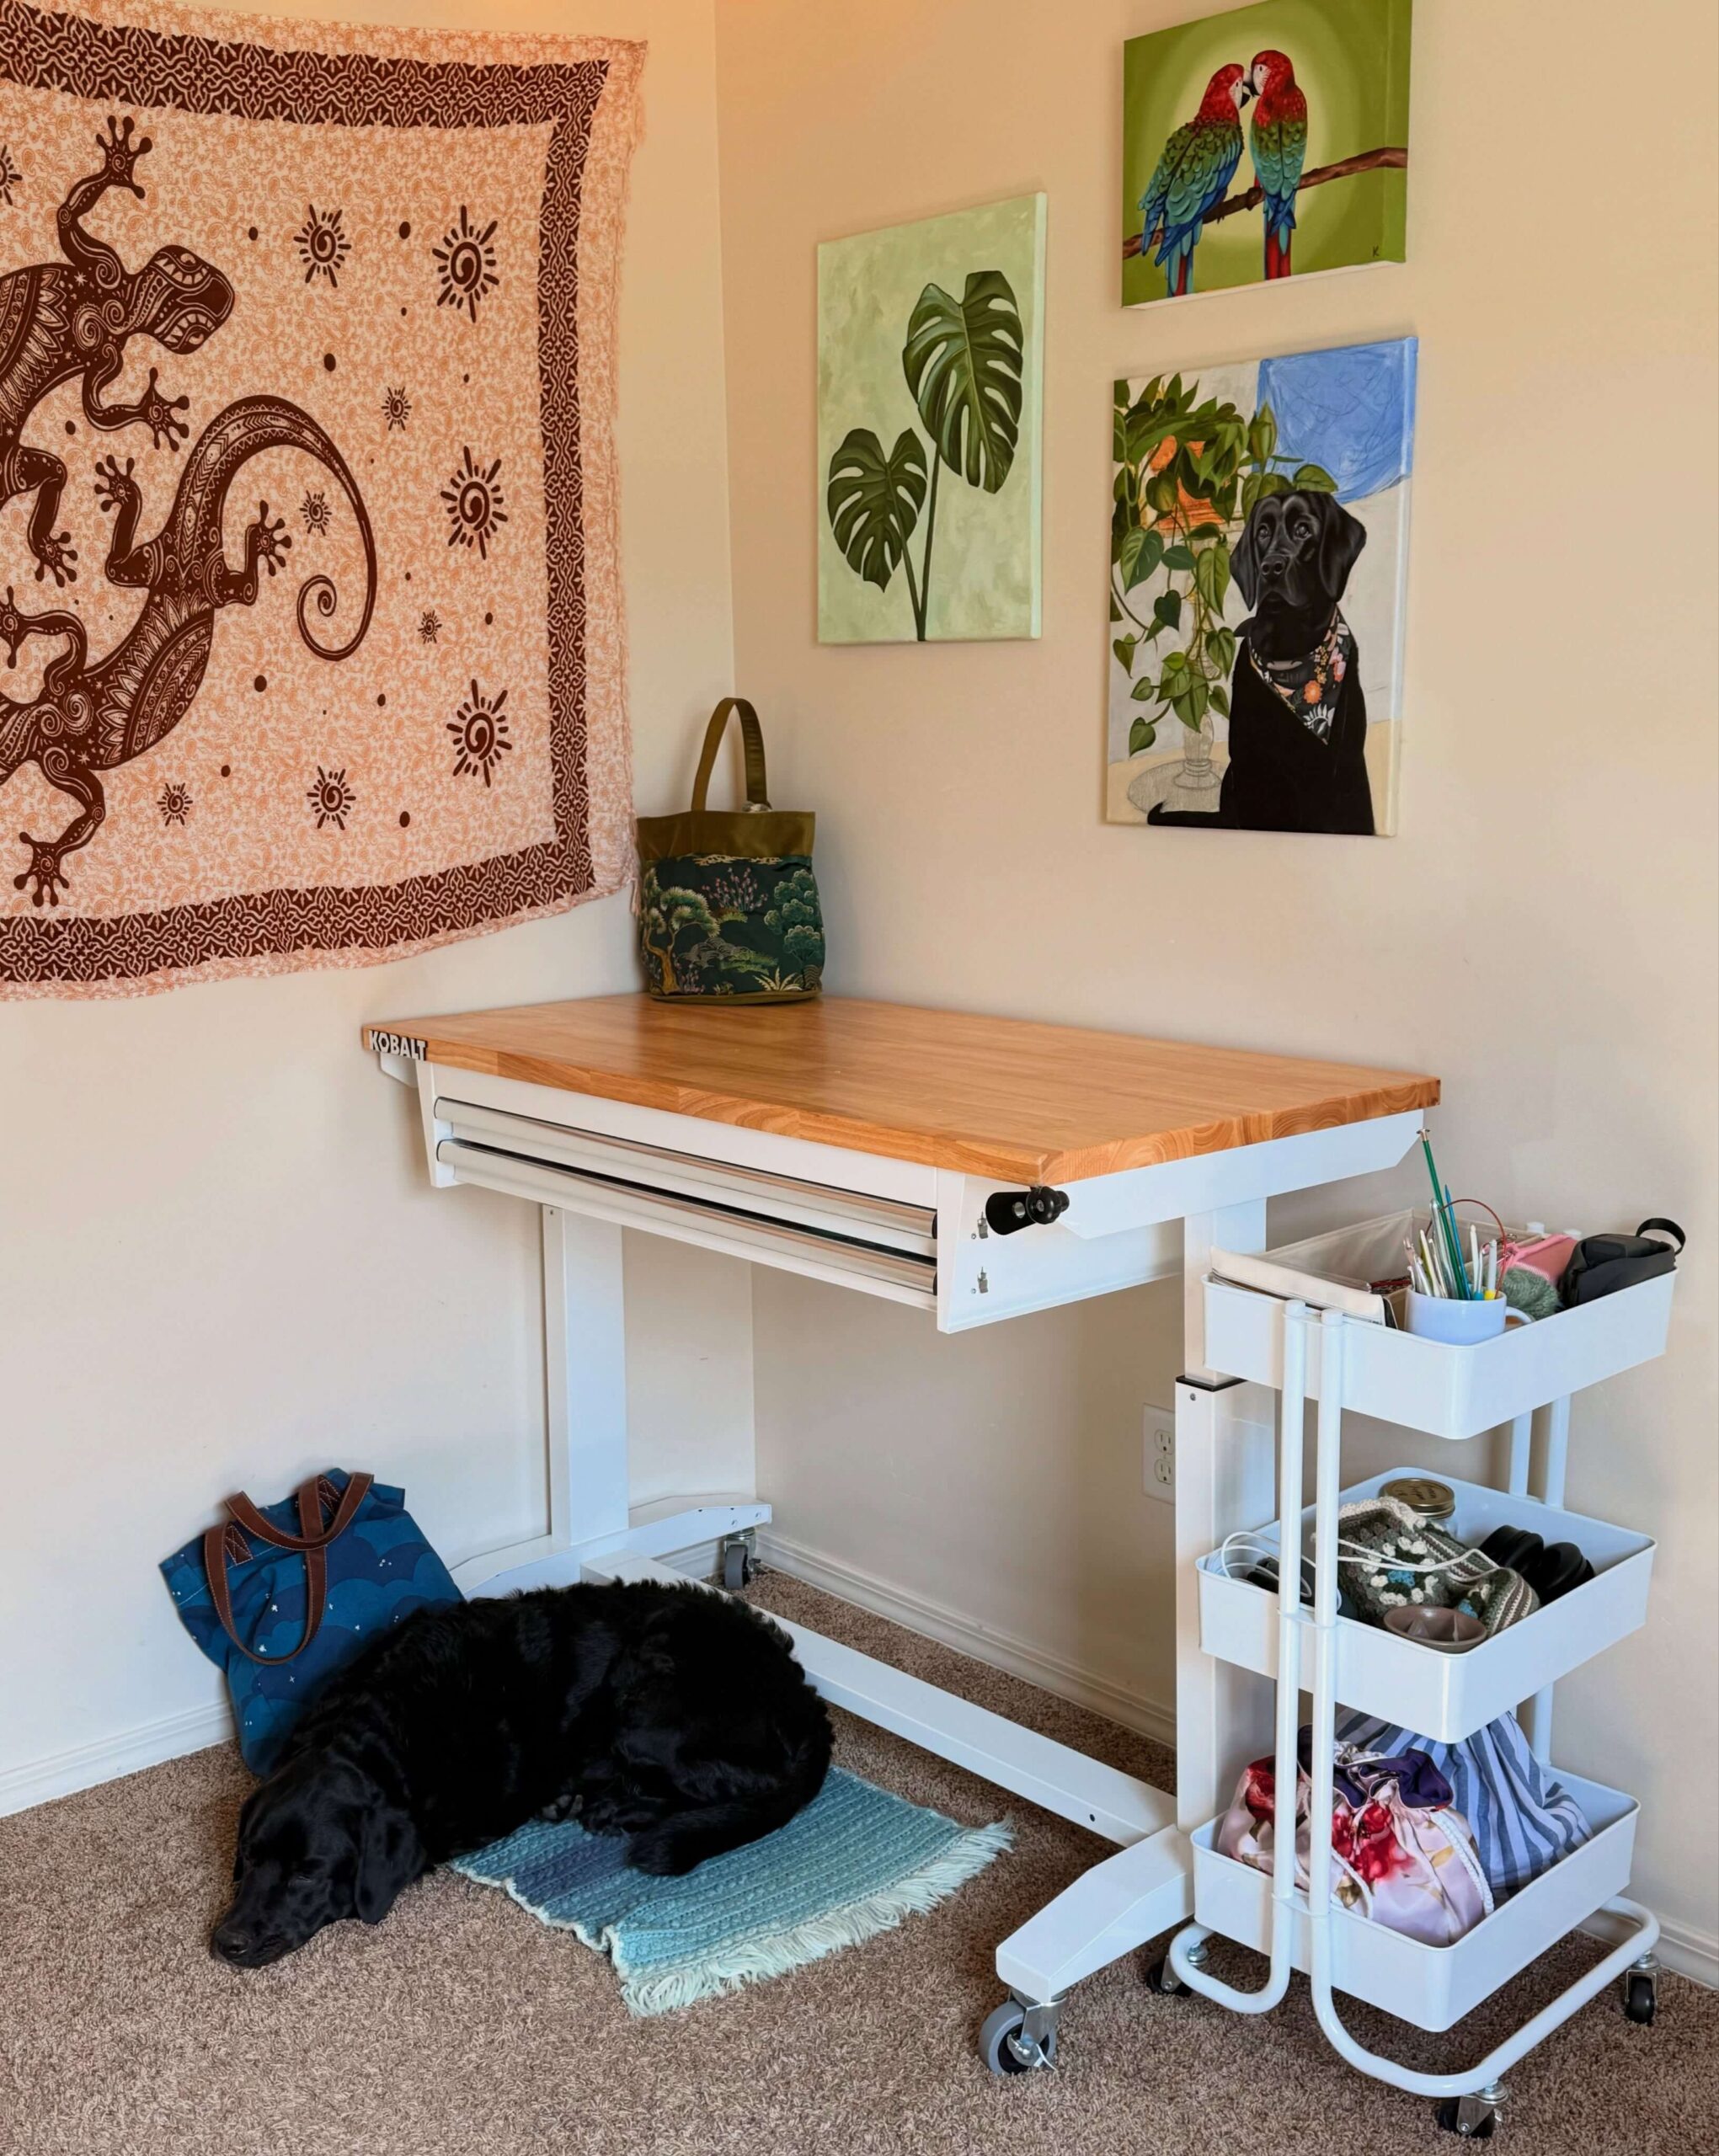
Not every supply deserves the same storage spot.
Think about the last few times you worked on your hobby. Which tools kept ending up in your hands?
Those should get the easiest access.
Professional organizer Ben Soreff gives a useful rule in Homes & Gardens’ advice for organizing a craft room. He says, “Separate your items based on frequency of use.”
That approach works beautifully in a small hobby space because every drawer, shelf, and inch of wall has to earn its place.
If you paint often, your regular brushes and colors can stay close to the work surface while unopened supplies live farther away.
If you sew, the scissors, pins, measuring tape, and thread you’re currently using may deserve the easiest drawer. Fabric saved for a future project doesn’t need the same access.
Think of the space in simple reach zones.
Some things should be reachable while you’re sitting.
Others can require standing.
The supplies you rarely use can live higher, lower, or farther away.
This keeps the work area from becoming crowded with things that aren’t helping you right now.
Use the Wall Before Giving Up More Floor Space
When the floor starts feeling crowded, look up.
A shallow shelf can hold smaller supplies without taking another bite out of the walking area.
Hooks can move certain tools off the desk. A pegboard can keep often-used items visible. Narrow wall storage may fit in places where a freestanding cabinet would feel bulky.
The goal isn’t to cover every inch.
A hobby corner still needs some quiet space around it, especially when it shares a bedroom or living area.
I would rather have two useful shelves than six shelves packed with things I rarely touch.
Leave a little room for the hobby to grow too.
Supplies have a way of accumulating.
Storage solves only part of the problem, though.
You also need somewhere for the project that isn’t ready to be packed away.
Give Unfinished Projects a Place to Pause
This is one of the most useful decisions you can make before buying organizers.
Ask yourself where tonight’s unfinished project will go.
Real hobbies rarely end at a neat stopping point.
Paint may need to dry. A puzzle may be halfway done. A sewing pattern might still be pinned. A model may have tiny pieces arranged exactly where you need them.
If your only options are finishing everything or putting every piece away, short hobby sessions become harder.
Give unfinished work a pause spot.
A shallow tray can hold a small project and slide onto a shelf.
A rolling cart can dedicate one level to whatever you’re working on now. Paper projects can sometimes stay on a firm board that can be lifted and moved without disturbing them.
If you work on something that needs several days, decide whether your chosen surface can remain occupied without disrupting the household.
That is one reason a modest hobby corner can sometimes work better than the dining table.
You can stop when you want and return without rebuilding the whole setup.
When you come back, lighting becomes the next test.
Light the Work, Not Just the Room
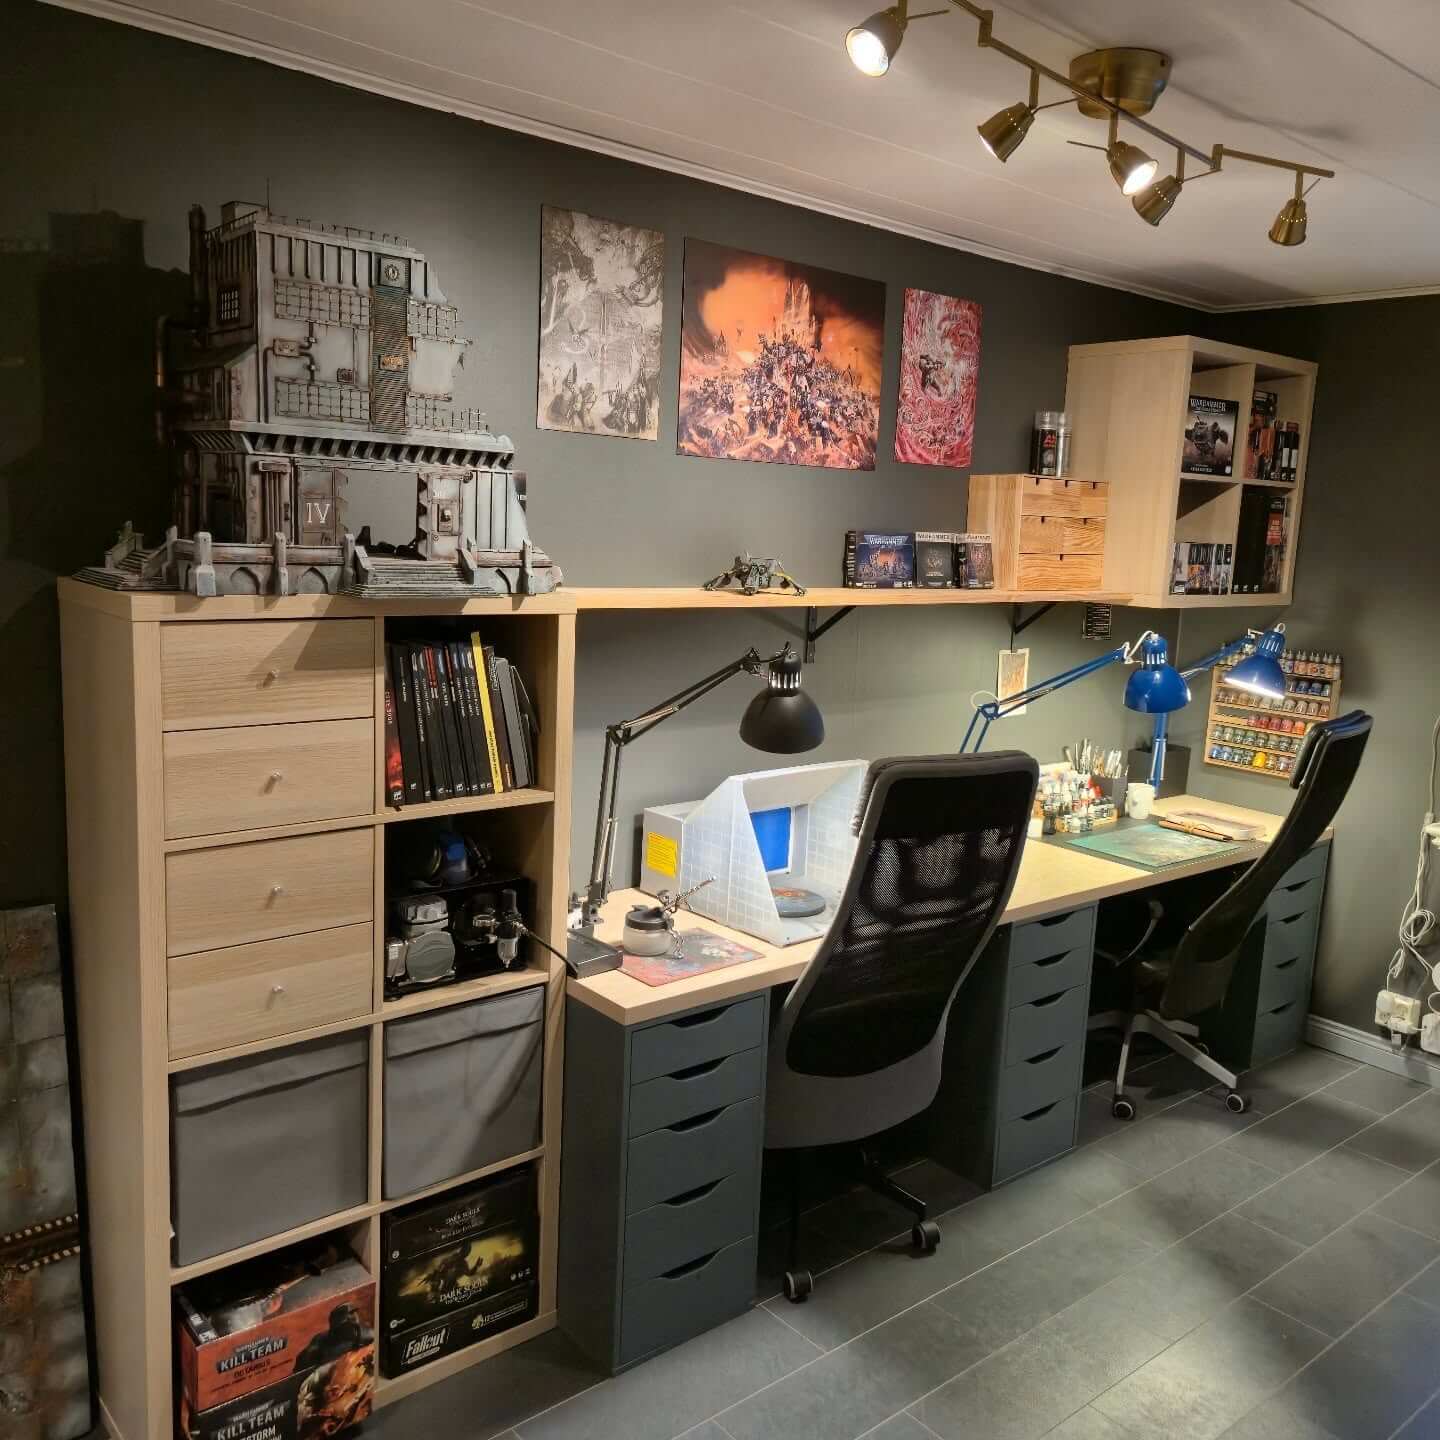
A room can look bright while your actual work surface feels dim.
Sit in the spot where you’ll work instead of judging the light from the doorway.
Put a real project in front of you and turn on the lights you would normally use at that hour.
Can you comfortably see the small details?
Does your hand throw a shadow across the project?
Does a glossy surface bounce light back toward your eyes?
The Spruce defines task lighting as “direct lighting used specifically for certain tasks, such as reading, writing, cooking, sewing, or other intricate work.”
That distinction matters in a hobby area.
The room may already have plenty of light, while the exact place where your hands are working still needs more.
Experiment with lamp placement while sitting in your normal working position.
If your hand keeps blocking the light, move the lamp. If glare appears on a shiny surface, change the angle.
And don’t judge a corner only during the day.
A window may make the spot wonderful on a Saturday morning, but your hobby time might usually happen at night.
Test it then too.
Next, look down at the cords.
Check Your Power Before You Move the Furniture
An empty corner can look perfect until you remember everything that needs to be plugged in.
A lamp may be only the beginning.
Depending on your hobby, you might also use a laptop, sewing machine, printer, cutting machine, charger, speaker, or another powered tool.
Before moving heavy furniture into place, set the equipment roughly where you expect to use it.
Then look at the cord path.
Would anything cross a walkway? Will the chair keep rolling over a cable? Will you have to crawl behind a cabinet every time you need to unplug something?
These annoyances seem small during setup.
They feel much bigger when you deal with them every week.
A pretend setup can reveal the trouble before you’ve committed to the layout.
Once the furniture, lighting, and power make sense, think about what will determine whether you actually use the space.
How easy is it to begin?
Make Starting Your Hobby Almost Effortless
The hobby corner you use beats the prettier one you avoid.
Picture yourself with 30 unexpected minutes.
Could you sit down and start?
If your current project is close and the supplies you use most are within reach, those 30 minutes can become real hobby time.
If you need to clear the table, carry containers from another room, hunt for tools, untangle cords, and rebuild the setup first, you may decide to do something else.
Look for anything that slows down the first few minutes.
Keep the current project nearby.
Store tools that are normally used together near each other.
Give your most-used supplies the easiest storage spots.
Leave enough of the work surface open that you don’t have to clean before beginning.
You don’t need everything permanently displayed.
You just want starting to feel easy.
Cleanup deserves the same treatment.
Design Cleanup Around What You Actually Do
A storage setup can look great and still be annoying to live with.
Watch what happens during a real hobby session.
Where do scraps collect? Where do you naturally put down scissors? Which containers stay open the whole time? Which supplies never make it back to their assigned drawer?
Those little habits tell you where storage should go.
If thread scraps always pile up beside you, put a small bin there.
If brushes constantly lie across the desk, an open cup might work better than a box that needs to be opened every time.
If you pull the same containers from a cabinet during every session, they may deserve a permanent spot closer to you.
Don’t plan cleanup for an imaginary version of yourself who loves putting everything away perfectly.
Plan it for the evening when you’re tired and want to stop.
A two-minute reset is far easier to live with than a complicated routine you keep postponing.
And once storage becomes easier, you can decide what should stay visible.
Let Some of Your Hobby Become Part of the Decor
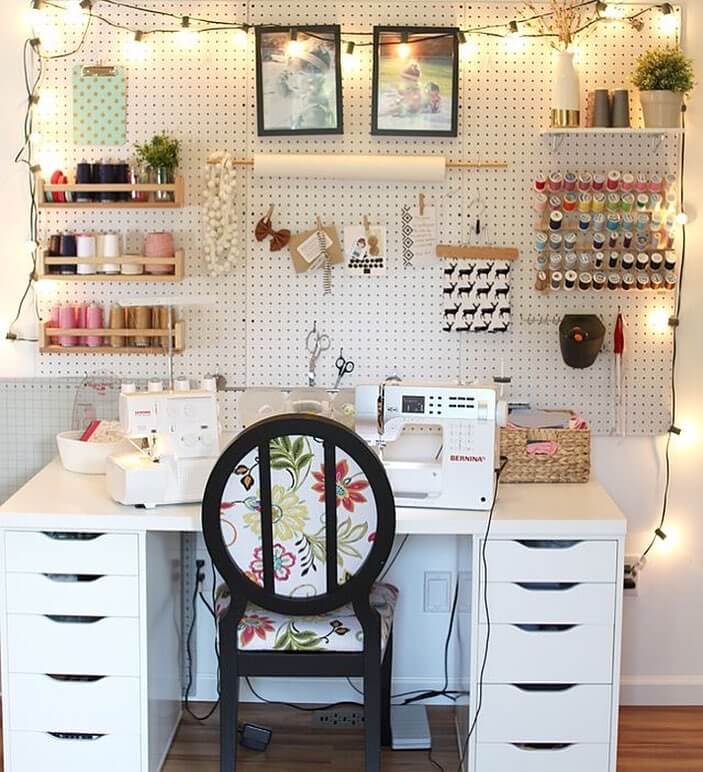
Not every hobby supply needs to disappear behind a door.
Some things deserve to be seen.
Books can fill a shelf. Yarn can add texture. Brushes can sit in a simple container. A guitar can become part of the room instead of something you hide between uses.
Finished projects can live here too.
Displaying one or two things you’ve made can give the corner more personality without making it feel crowded.
The trick is balance.
Keep out the things you enjoy looking at. Put visually messy supplies behind doors, inside drawers, or in matching containers.
This matters even more when your hobby space shares a bedroom or living room.
You want it to feel like part of the home when you’re not working, not like a supply closet spilled into the room.
That becomes easier when the entire area has a simple reset routine.
Make a Shared Room Easy to Reset
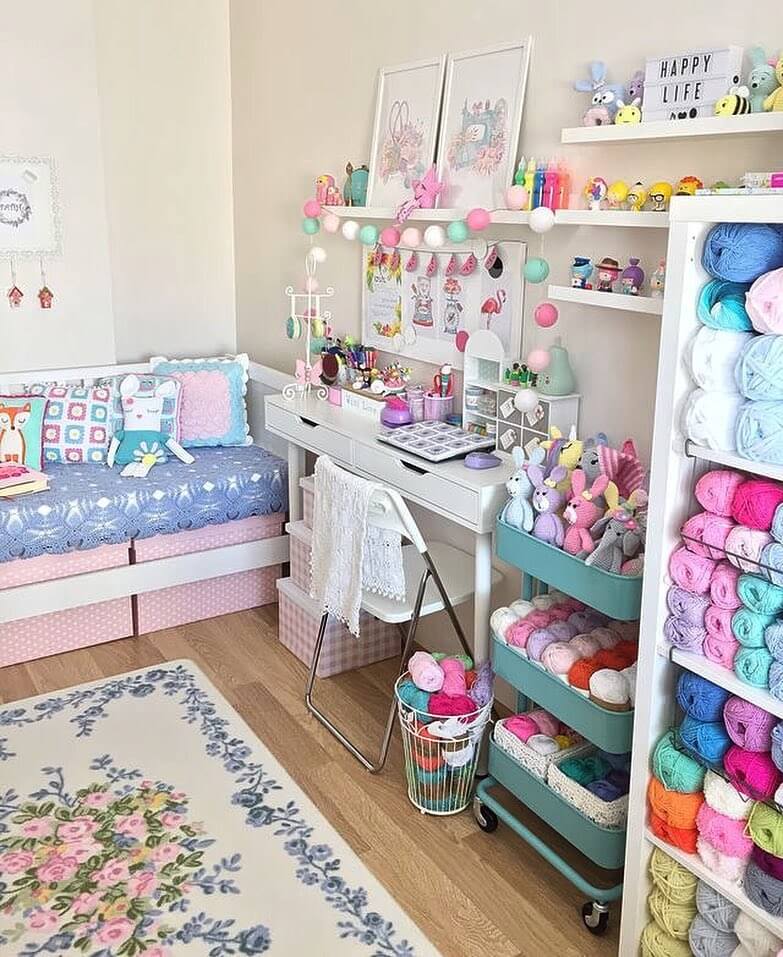
If your hobby lives inside another room, decide what “finished for today” looks like.
In a guest room, it might mean clearing the work surface and rolling a cart into the closet.
In a bedroom, it might mean getting loose tools off the desk so the room feels calmer before bed.
In a dining area, the whole setup may need to fit inside one cabinet or cart before the next meal.
You don’t have to erase every sign of the hobby.
You just need a predictable place for the loose pieces.
The current project goes somewhere.
Tools go somewhere.
Scraps and waste go somewhere.
Anything that wandered beyond the hobby zone returns.
Once that reset becomes easy, the hobby can share the room without constantly competing with everything else happening there.
Before you buy the final furniture and organizers, though, give the setup a trial run.
Live With the Hobby Corner Before You Finish It
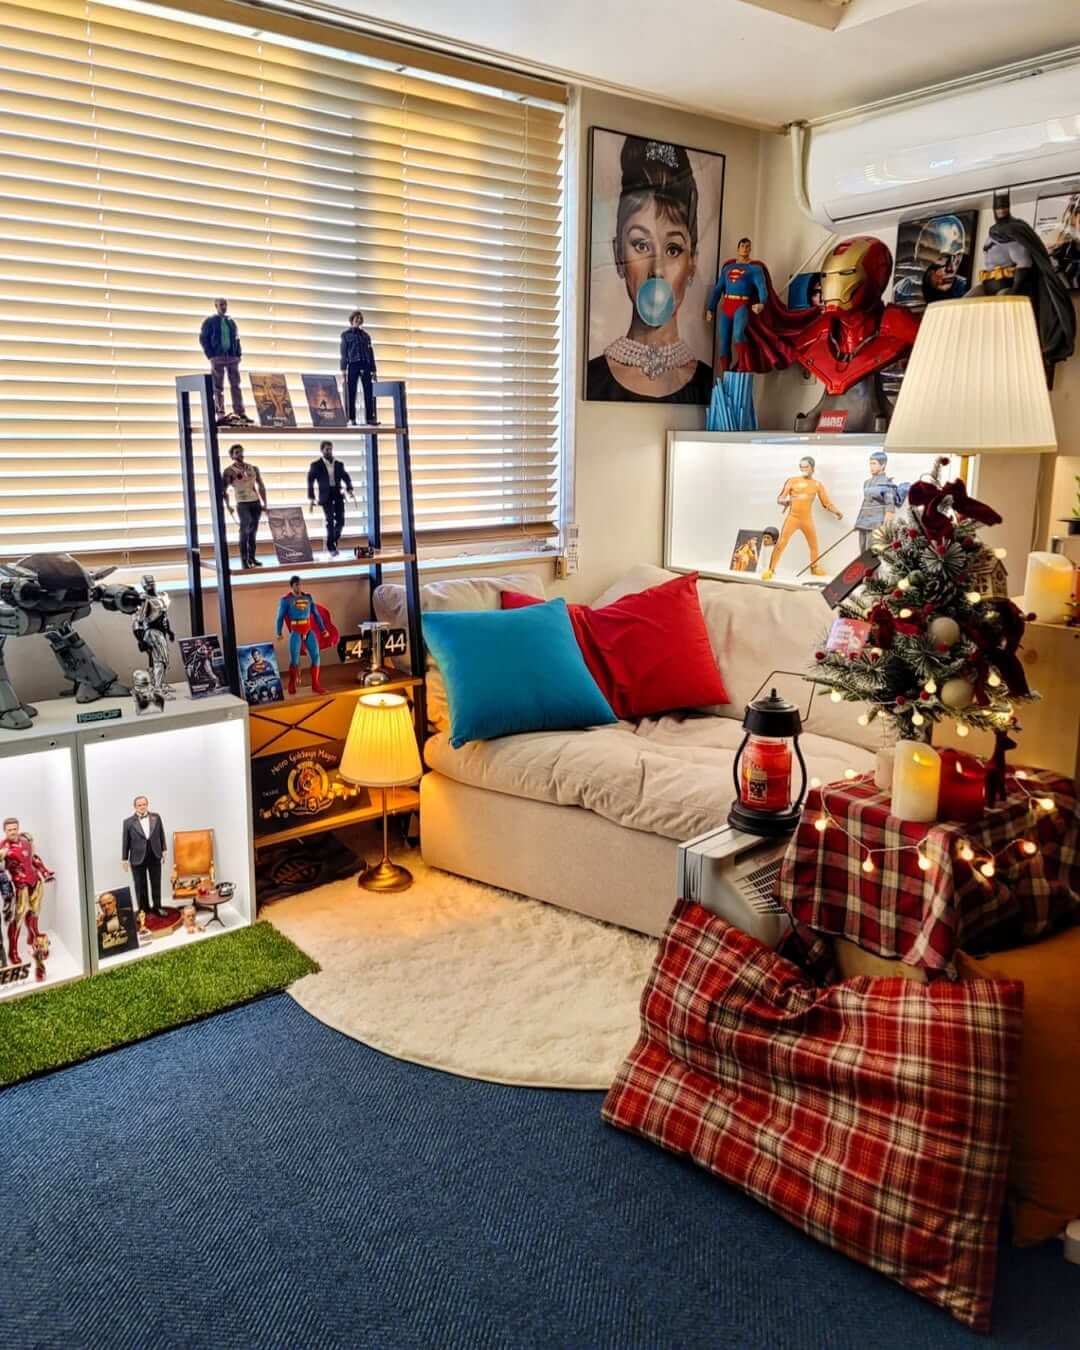
Use the rough version for a week before making it permanent.
Borrow a chair. Use a table you already own. Keep supplies in temporary boxes. Bring over a lamp from another room.
It doesn’t need to look finished.
It needs to teach you what you got wrong.
After a few sessions, you’ll notice things that measurements alone couldn’t tell you.
Maybe the table needs more depth.
Maybe everything naturally ends up on your right while the drawers are on your left.
Maybe the afternoon sun hits the spot at exactly the wrong time.
Perhaps you thought you needed a wall full of shelves and discover that two small ones would hold everything you actually use.
Keep a note on your phone during this test week.
Whenever you think, “I wish I had somewhere to put this,” write it down.
Notice every time you get up because something is stored too far away. Pay attention when a tool gets in the way or a project has nowhere safe to pause.
Then shop from those observations.
You’ll be choosing furniture and storage for problems you’ve already experienced rather than trying to guess what a hobby room is supposed to contain.
Your Hobby Room Can Start With One Corner
You don’t need to wait for a larger home.
You don’t need a finished basement, a spare bedroom, or a door you can close behind you.
And you don’t need to buy a room’s worth of furniture before you begin.
Start with the space you can claim now.
Find a corner that isn’t doing much. Work out how much surface your hobby really needs. Put the supplies you reach for nearby. Light the place where your hands actually work. Give unfinished projects somewhere safe to wait for you.
Then spend some time there.
That is what makes the space matter.
A hobby room isn’t really about adding another decorated room to your home. It’s about making something you enjoy easier to return to.
Sometimes, the space you need has been sitting in your home all along.
Also read:
How to Create a Healing Room That Restores Your Mind and Body