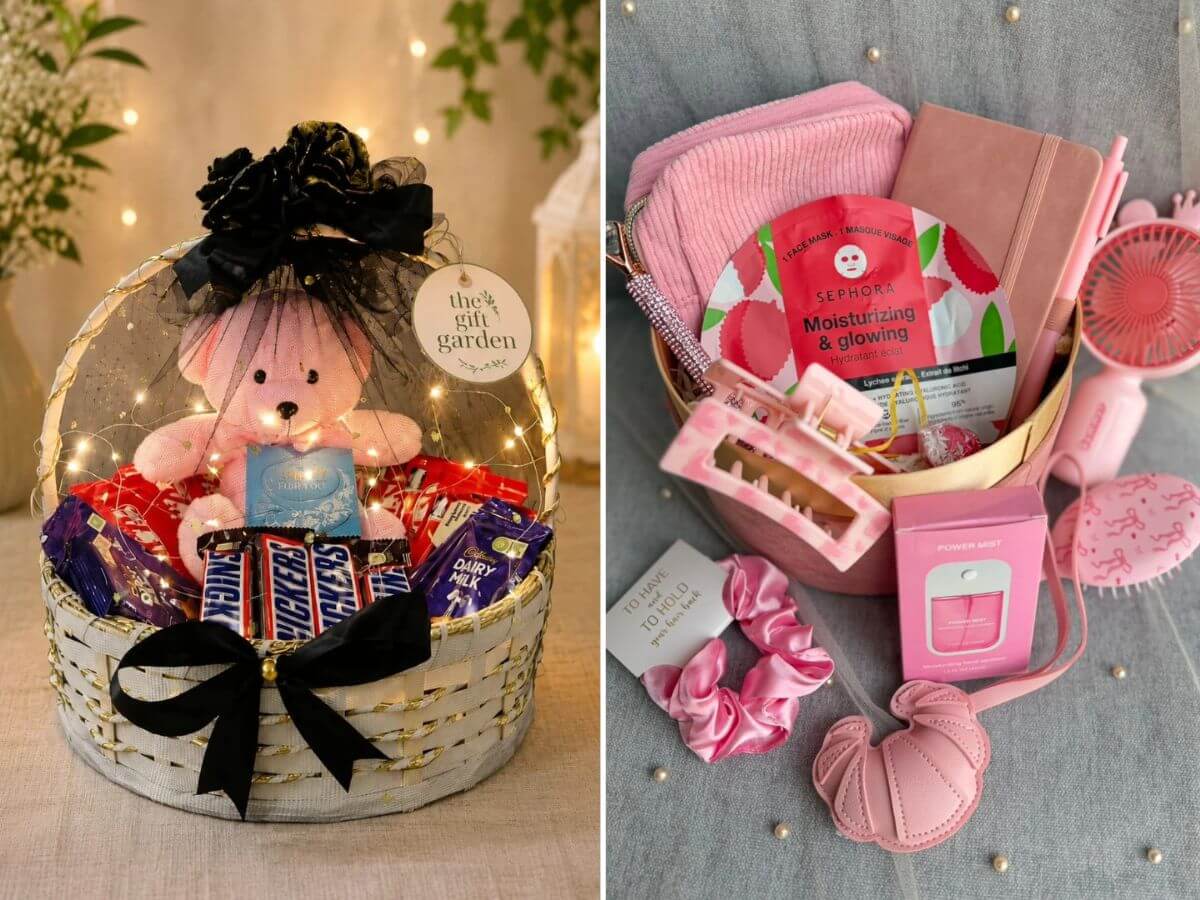
Gift Basket Ideas That Look Expensive but Are Easy to Make
I’ve seen plenty of gift baskets that were filled with nice things but somehow still looked thrown together.
Usually, the problem wasn’t the gifts.
It was everything around them.
The basket was too deep, so half the products disappeared. The colors competed with each other. There wasn’t one item that caught your eye first. Sometimes there were simply too many things fighting for attention.
That’s why I don’t think an expensive-looking gift basket starts with spending more money.
It starts with making fewer, better decisions.
Choose a clear direction. Give the basket one item that leads the eye. Keep the colors under control. Arrange everything so the recipient can actually see what you’ve chosen.
And before you buy the basket itself, think about the person who will open it.
Start With the Person, Not the Basket
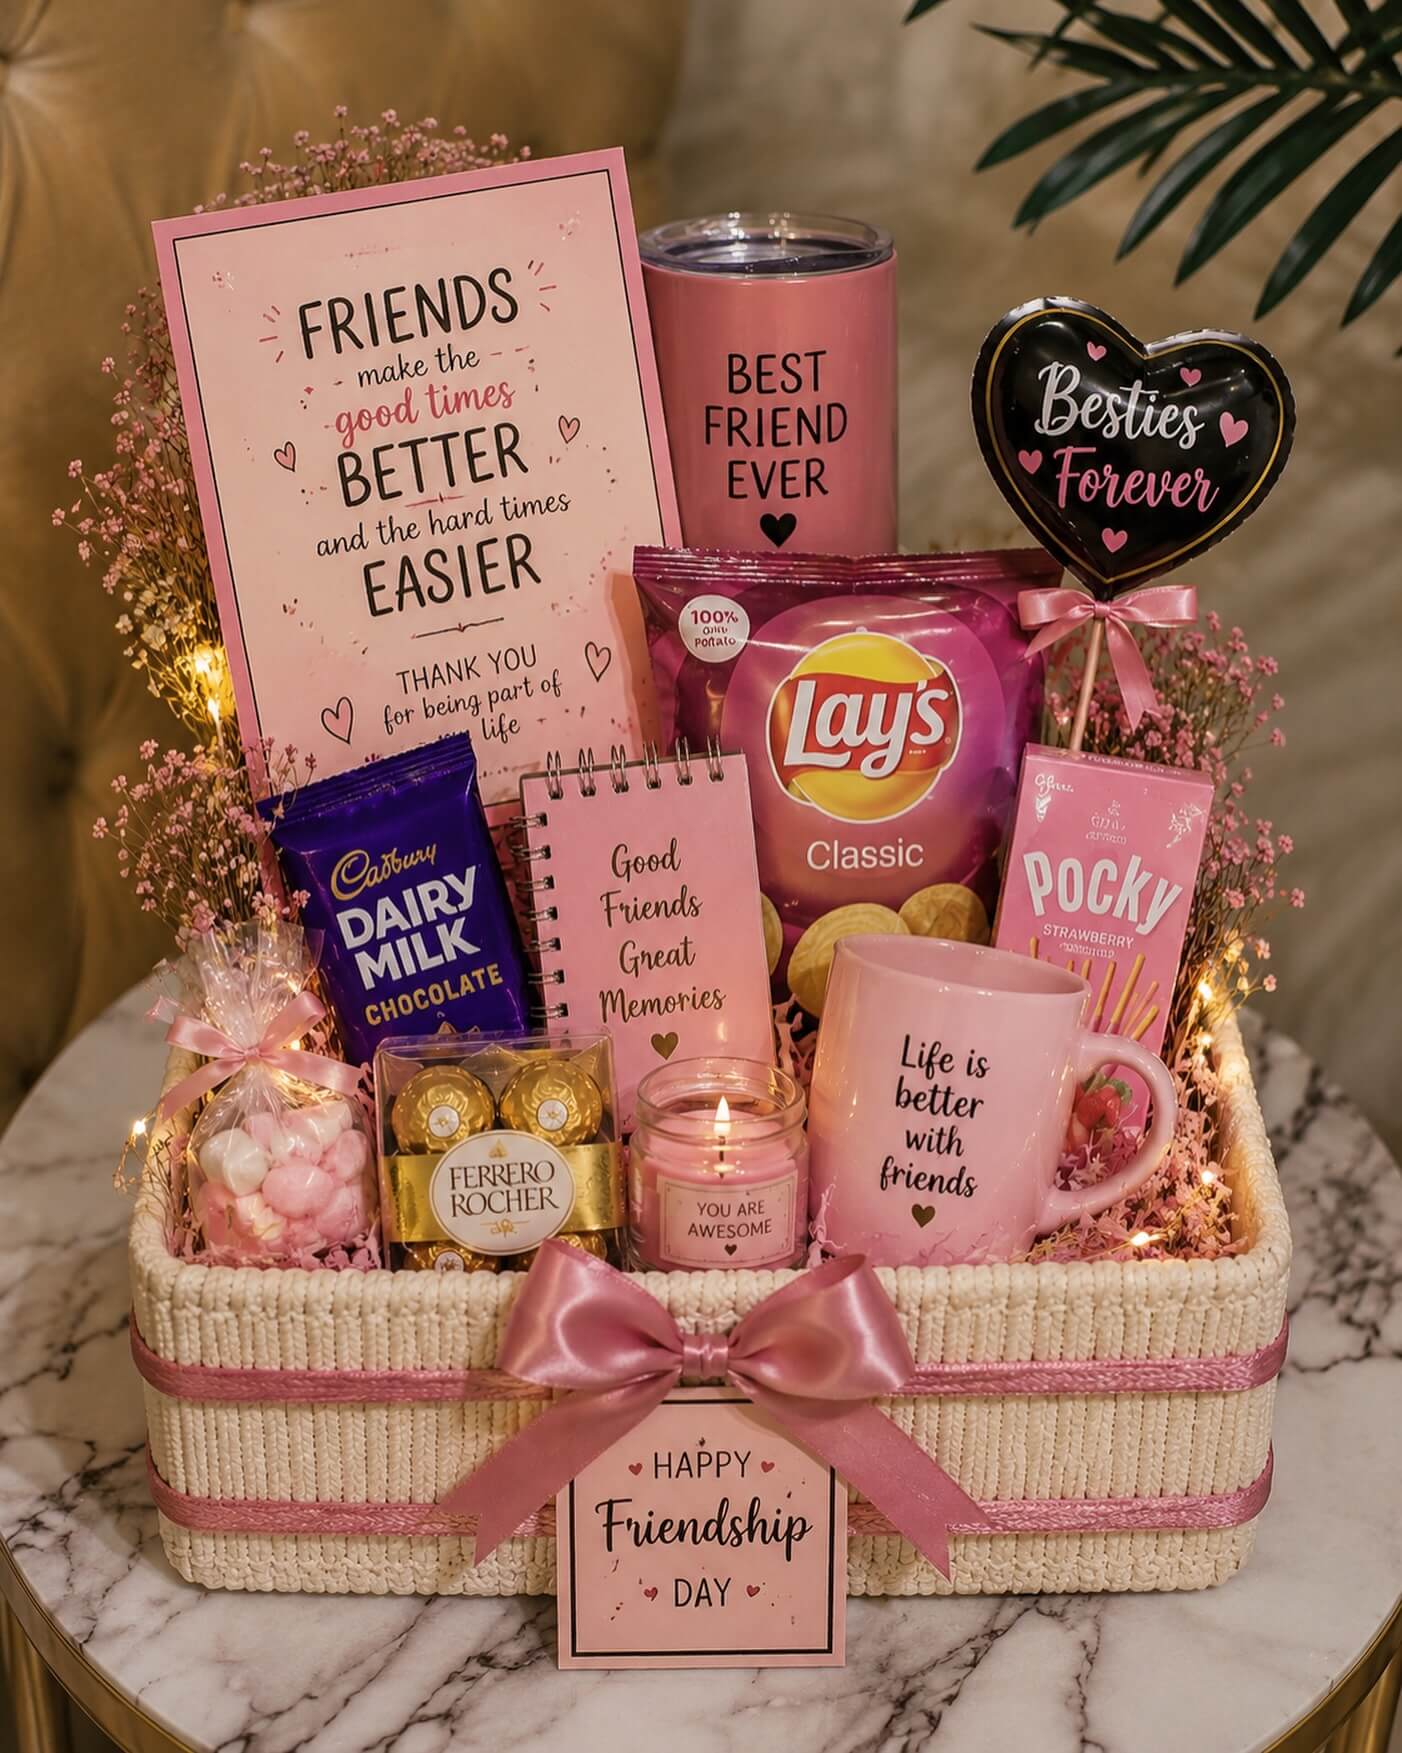
It’s easy to walk into a store and start collecting things that look giftable.
A candle goes into the cart. Then some chocolates. Maybe a mug, hand cream, tea, fuzzy socks, and a little notebook.
Individually, they’re perfectly nice gifts.
Together, they may have nothing to say.
Before shopping, write down three things about the person you’re buying for.
What do they enjoy doing?
What do they use all the time?
What is one small pleasure they rarely buy for themselves?
Those answers give you somewhere to start.
Better Homes & Gardens shares a similarly simple piece of advice in its guide to choosing a more personal gift: “Think about the recipient’s preferences.”
I like that rule because it stops you from shopping for the basket instead of shopping for the person.
Say your friend loves slow weekend mornings.
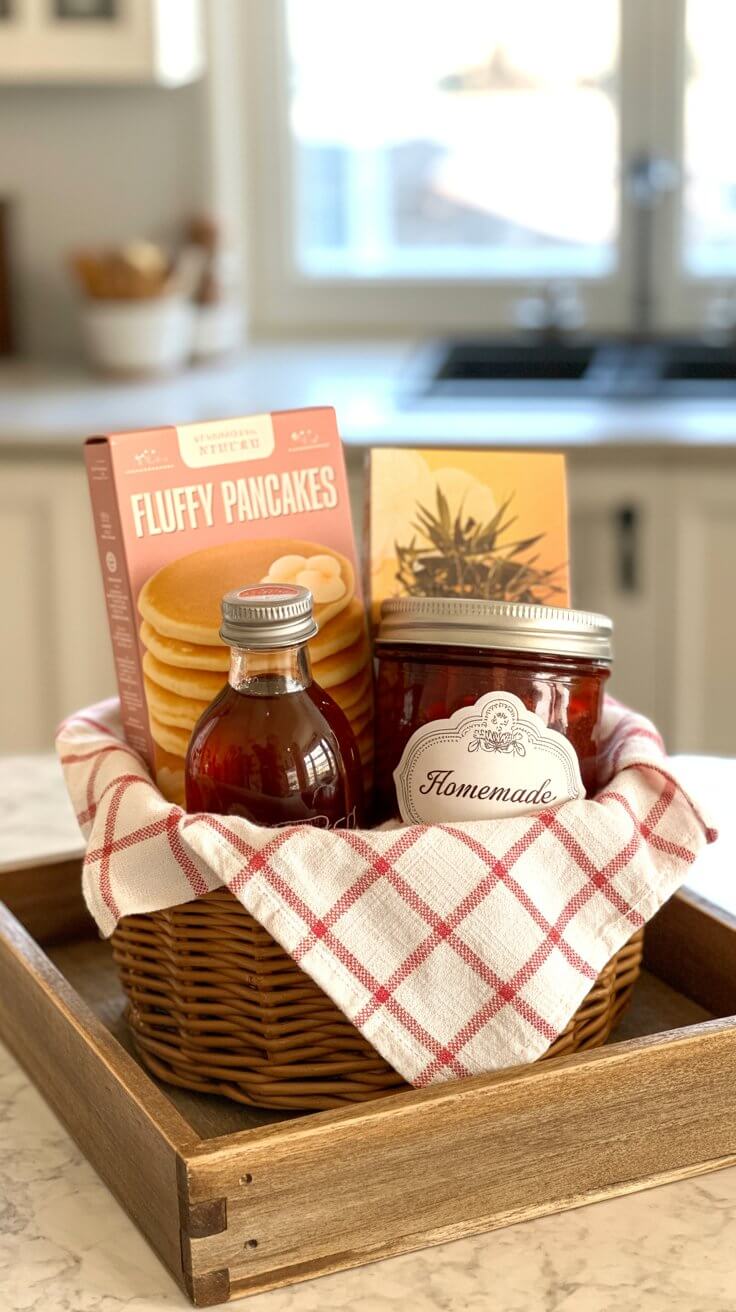
Coffee, a pretty mug, pancake mix, jam, and a soft kitchen towel suddenly make sense together. Add another random beauty product just because the packaging is pretty, and the story starts getting muddy.
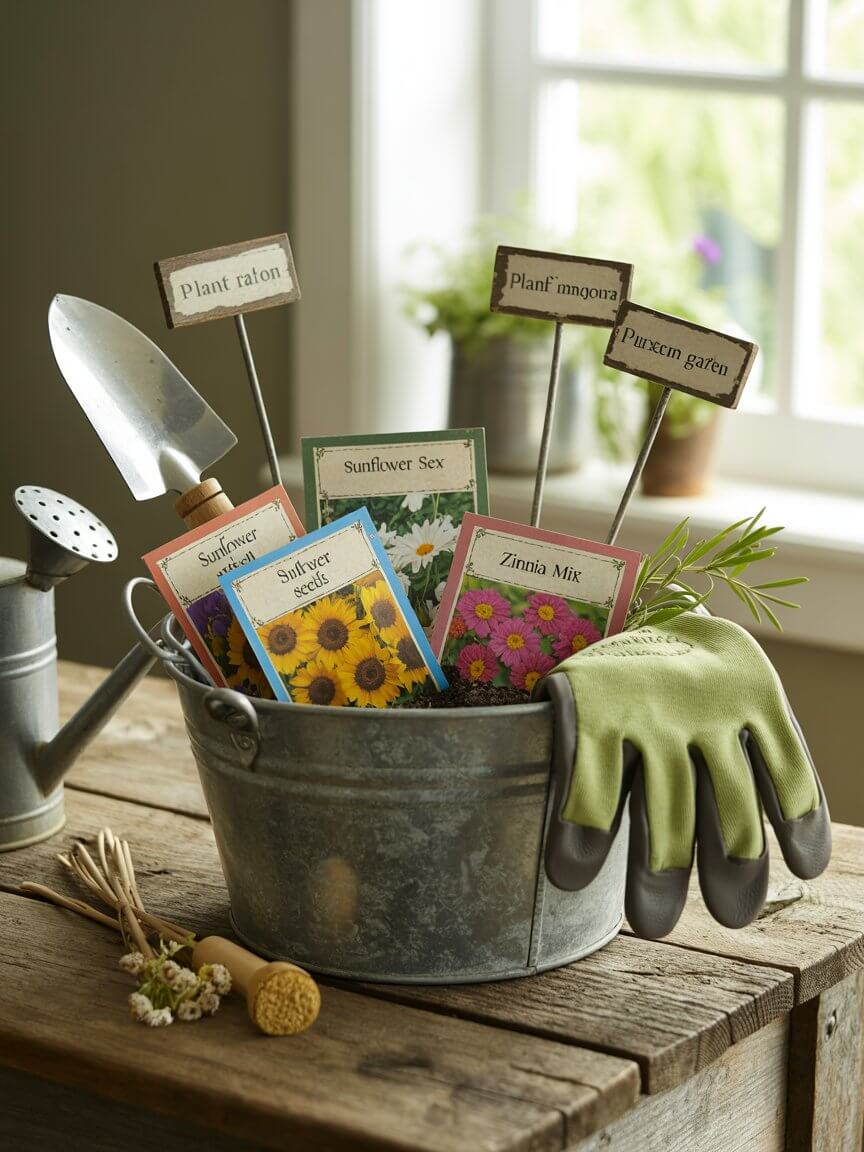
For someone who loves gardening, you might begin with good gloves and build around them with seed packets, plant markers, hand cream, and a small planter.
You aren’t trying to fill space yet.
You’re figuring out what kind of moment you’re giving them.
Give the Gift Basket One Clear Story
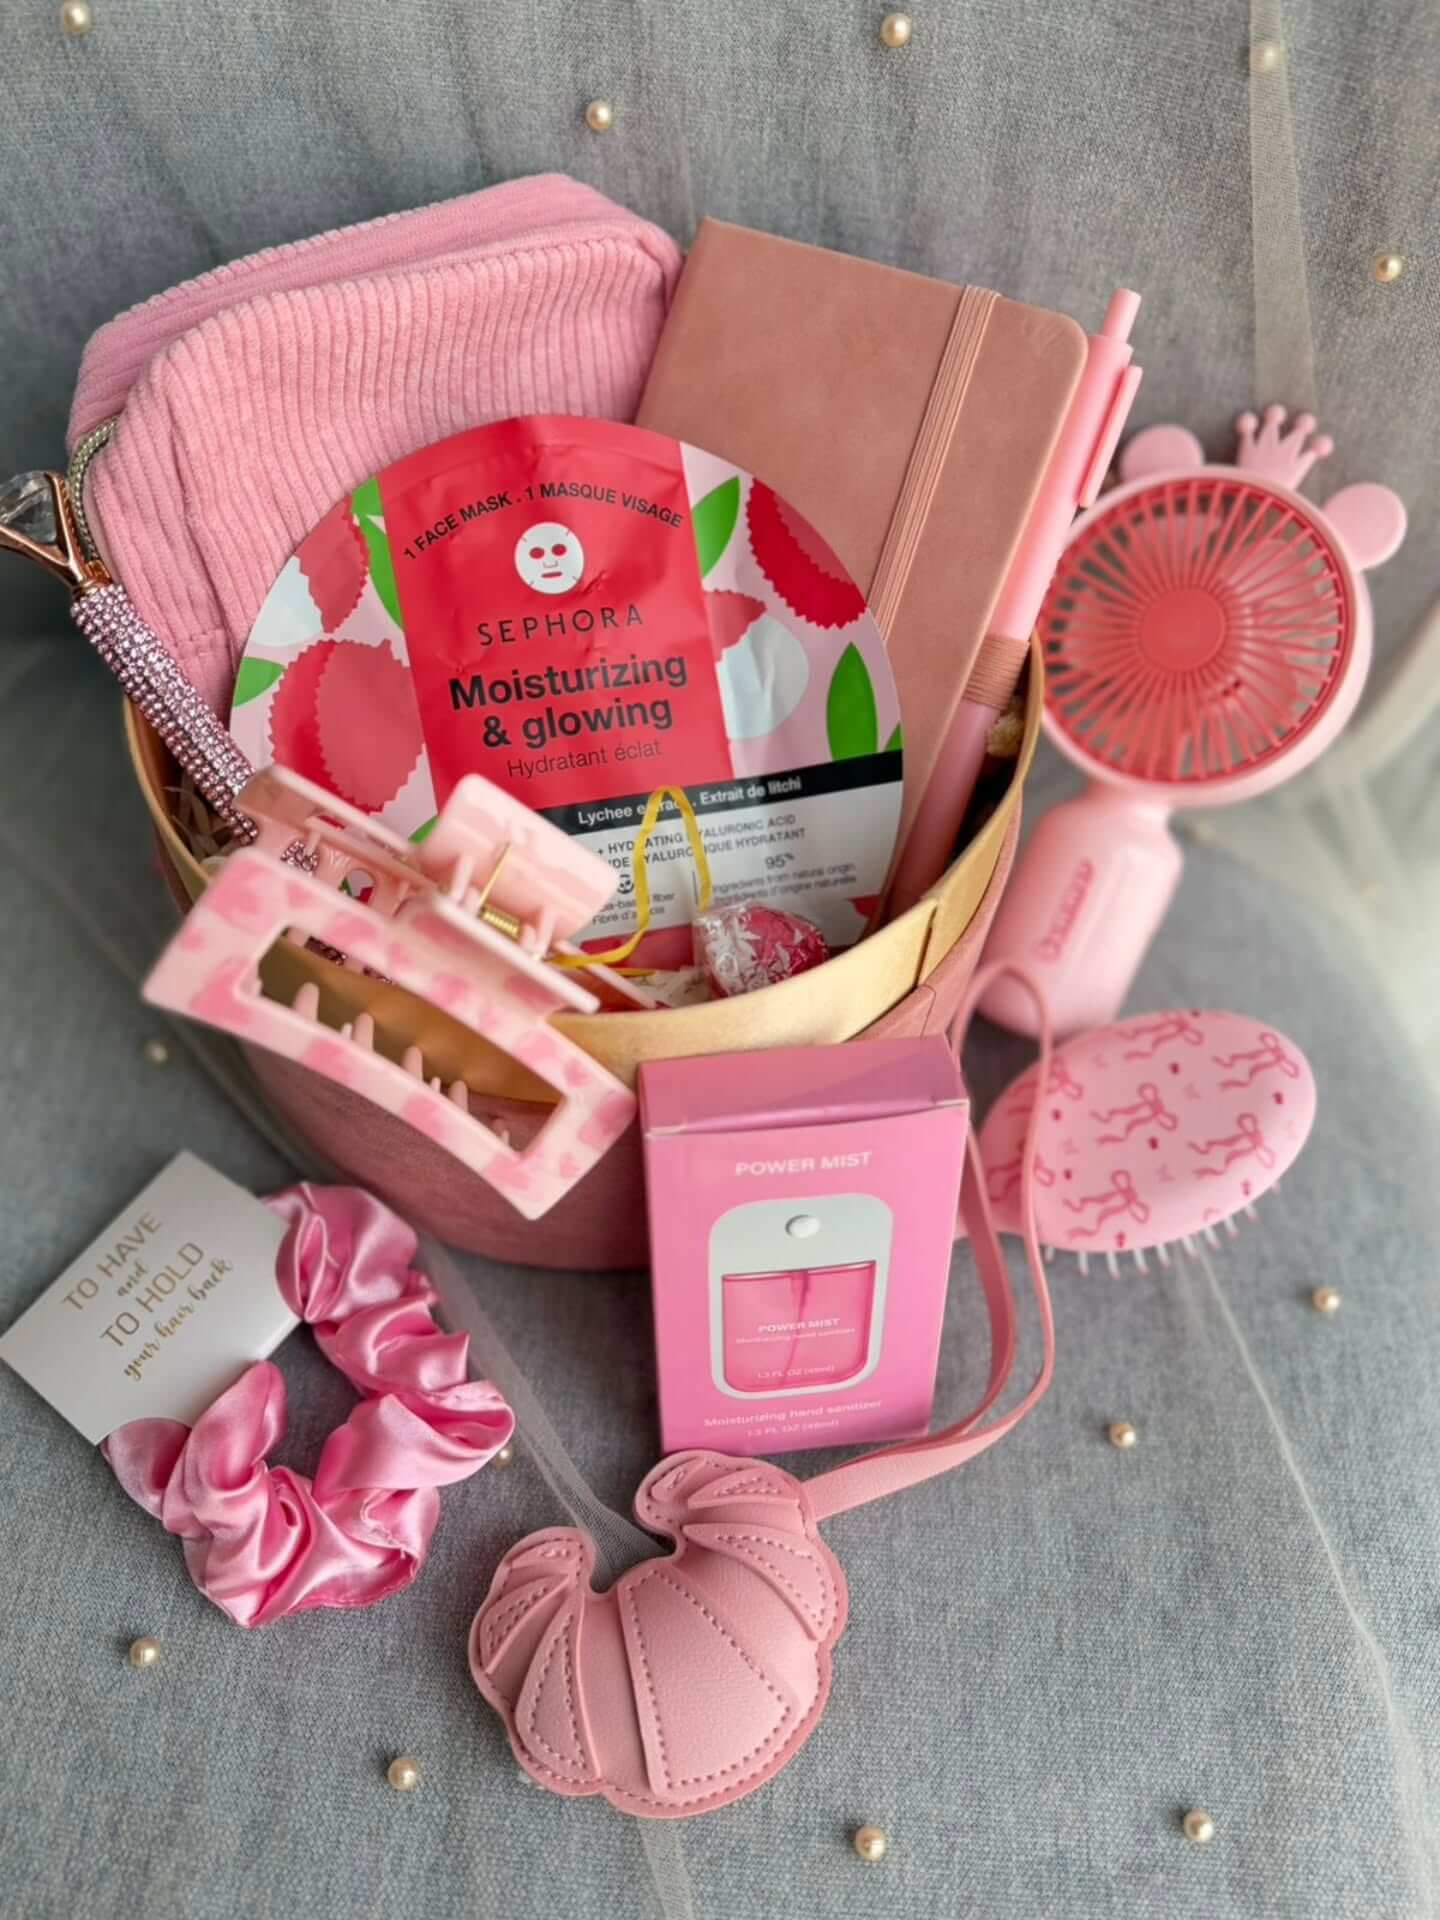
I prefer thinking about an experience rather than a traditional gift-basket theme.
“Coffee basket” works.
But “Slow Sunday Morning” tells you much more.
Now you can picture the person opening it. Coffee belongs. So does a mug, pancake mix, jam, or something good to read.
The same idea works for other gifts.
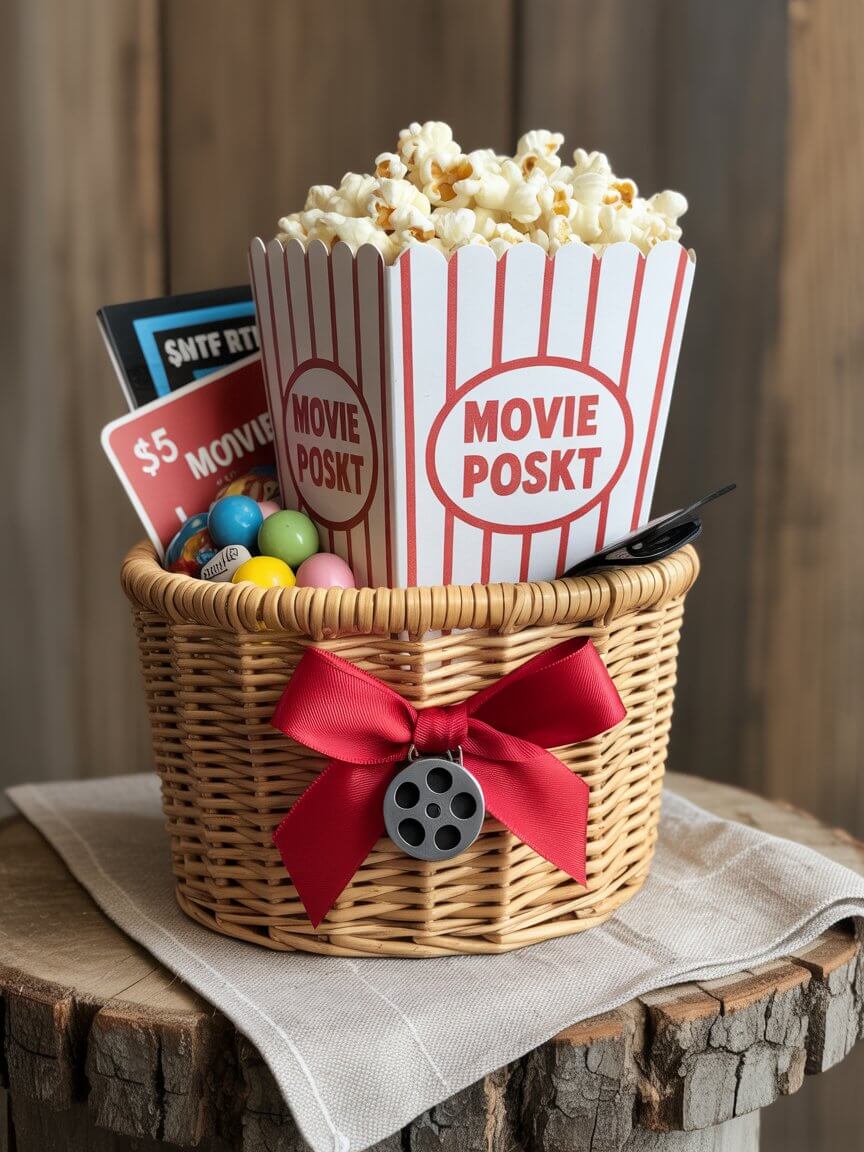
Instead of a generic movie basket, picture “Movie Night After a Long Week.”
Instead of a housewarming basket, think “First Night in the New Home.”
Instead of a spa basket, think “An Evening With Absolutely Nothing to Do.”
The name never has to appear on the gift.
It’s there to help you shop.
When you’re considering another item, ask whether it belongs in that little experience.
If the answer is no, leave it on the shelf.
That one habit can also keep the cost from creeping upward.
Set the Budget Before the Little Purchases Add Up
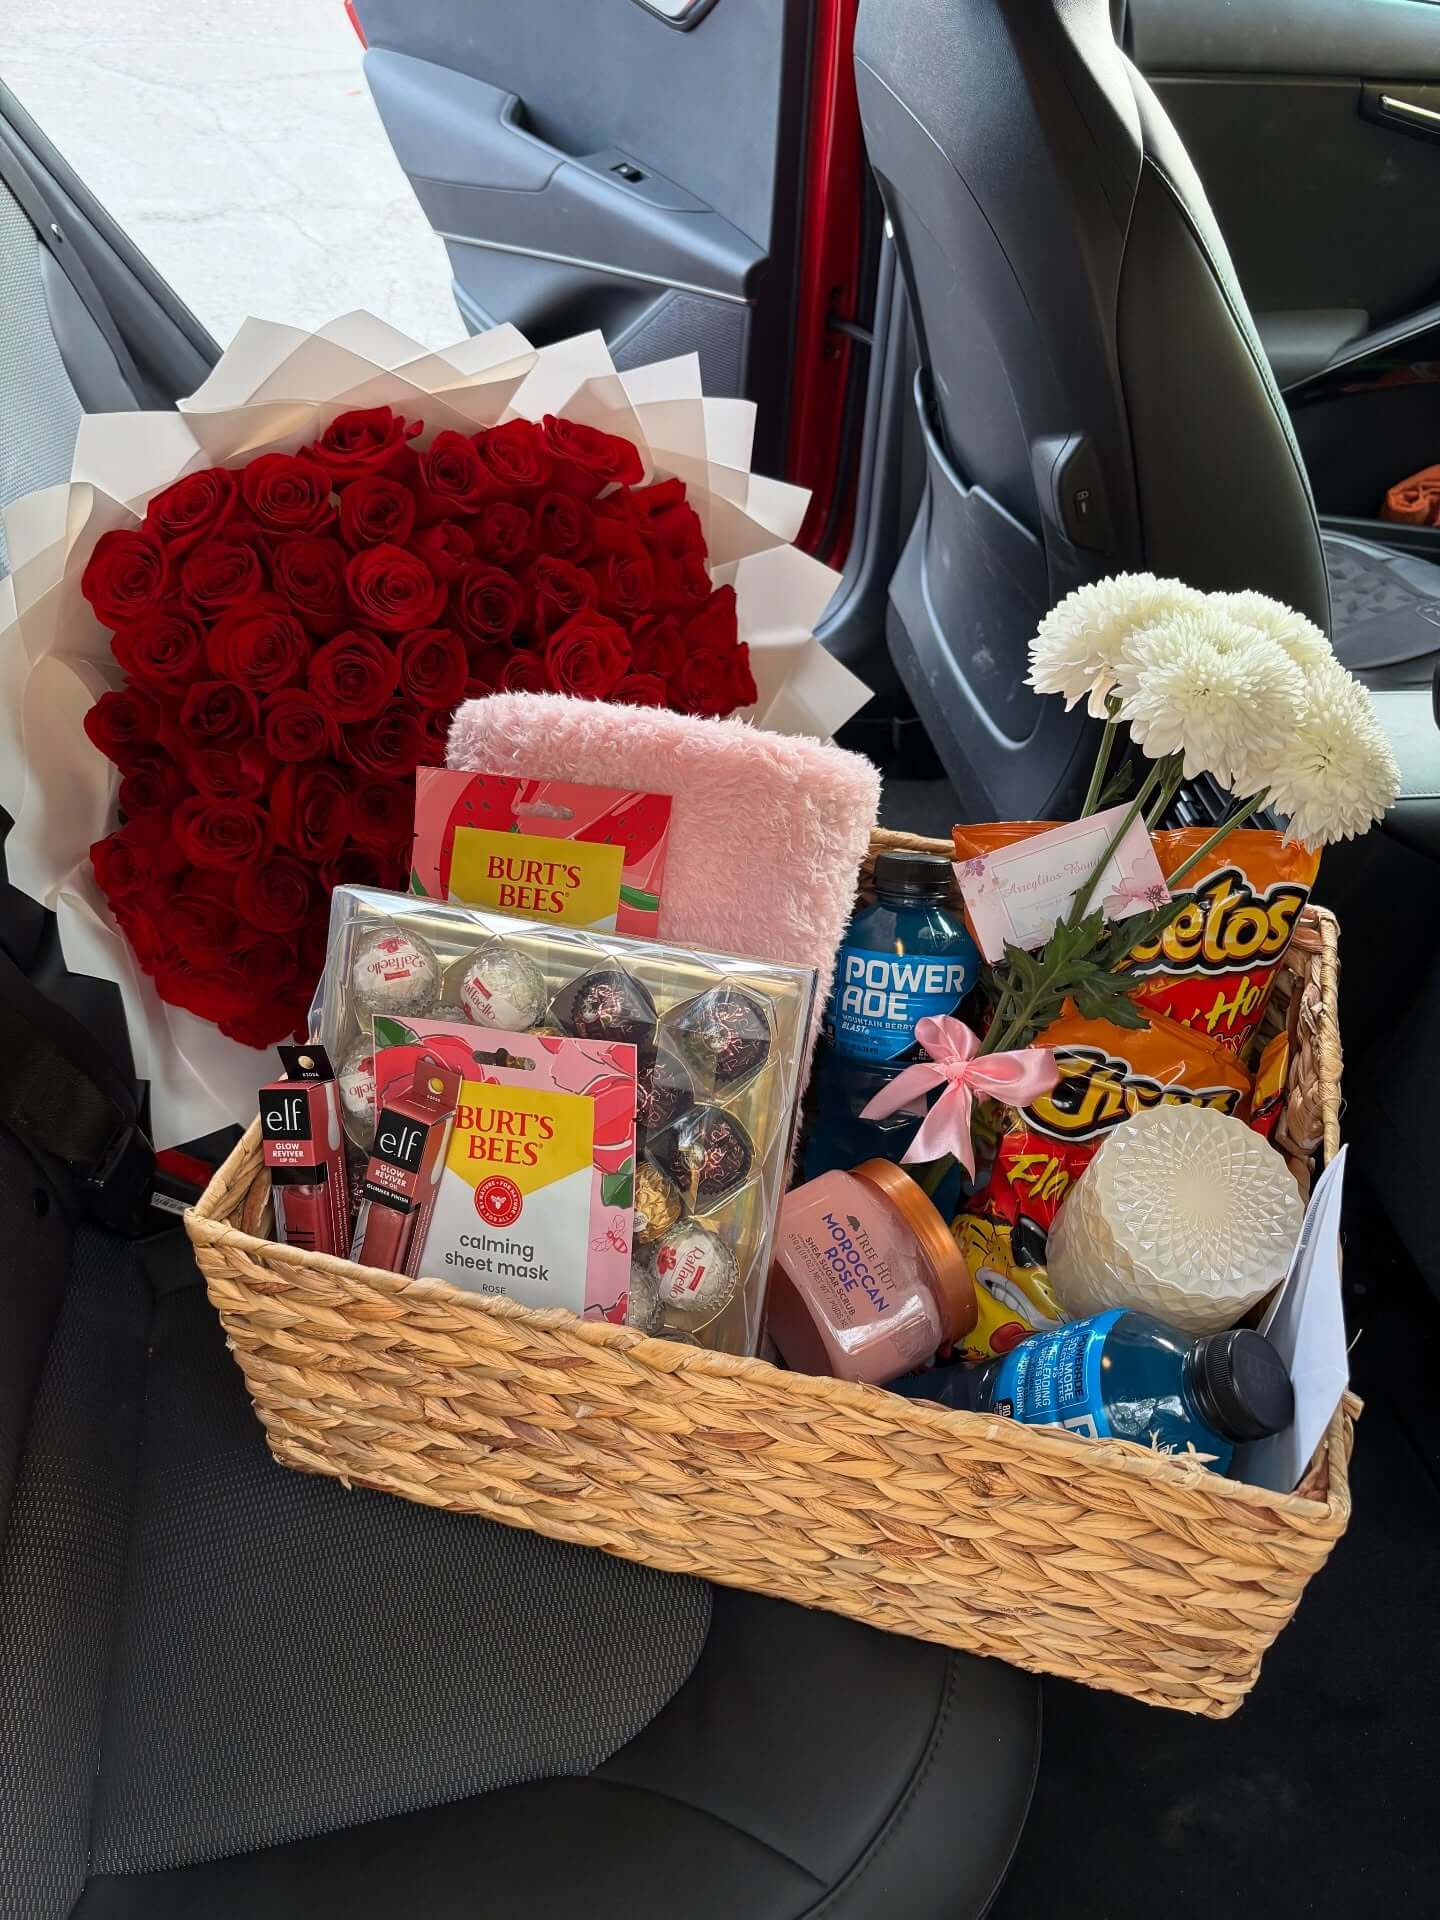
Gift baskets can be sneaky.
Nothing feels terribly expensive when you’re adding one small thing at a time.
A $7 candle seems reasonable. So does an $8 bag of coffee. Then there’s a $6 chocolate bar, a $10 mug, a $5 ribbon, a container, filler, tissue paper, and one last item because the basket still looks empty.
Suddenly your inexpensive homemade gift isn’t very inexpensive.
Decide what you’re comfortable spending before shopping.
Then mentally divide that money between the main gift, the smaller supporting pieces, and the presentation.
I would put most of the money toward the things the recipient gets to keep.
The basket itself doesn’t need to consume a large part of the budget, especially when a container they can reuse may work better.
This also makes it easier to know when to stop.
If you have $50 to spend, you don’t need ten $5 things.
One $20 item surrounded by a few thoughtful smaller pieces can feel much more intentional.
That larger item can also solve another problem.
It gives your eye somewhere to land.
Choose One Item to Be the Star
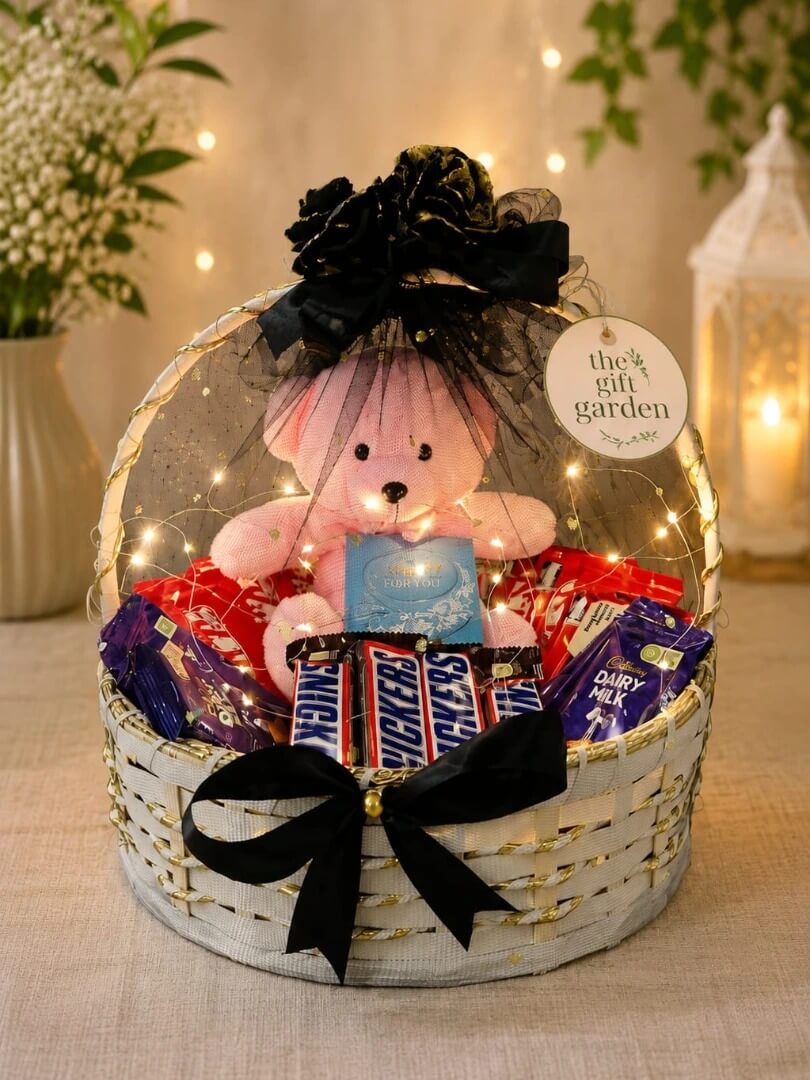
Look at beautifully styled rooms and you’ll often notice that your eye doesn’t give equal attention to every object.
I use a similar idea when thinking about a gift basket.
Give it a star.
This doesn’t have to be the most expensive thing in the basket. It just needs enough visual presence to lead the arrangement.
For a coffee gift, it could be a beautiful mug.
For someone who cooks, maybe it’s a small cookbook, bottle of olive oil, or wooden serving piece.
A cozy gift might center on a folded throw.
A plant-themed basket could begin with the planter itself.
Once you’ve chosen that item, let the smaller pieces support it.
This is much easier than buying eight little products and then trying to figure out how to make them look related.
Place your focal item in the empty container before arranging anything else.
Look at how much room remains.
That tells you far more about what you still need than shopping with an empty basket at home.
And sometimes the focal item can even influence what you use as the basket.
Don’t Assume You Need an Actual Basket
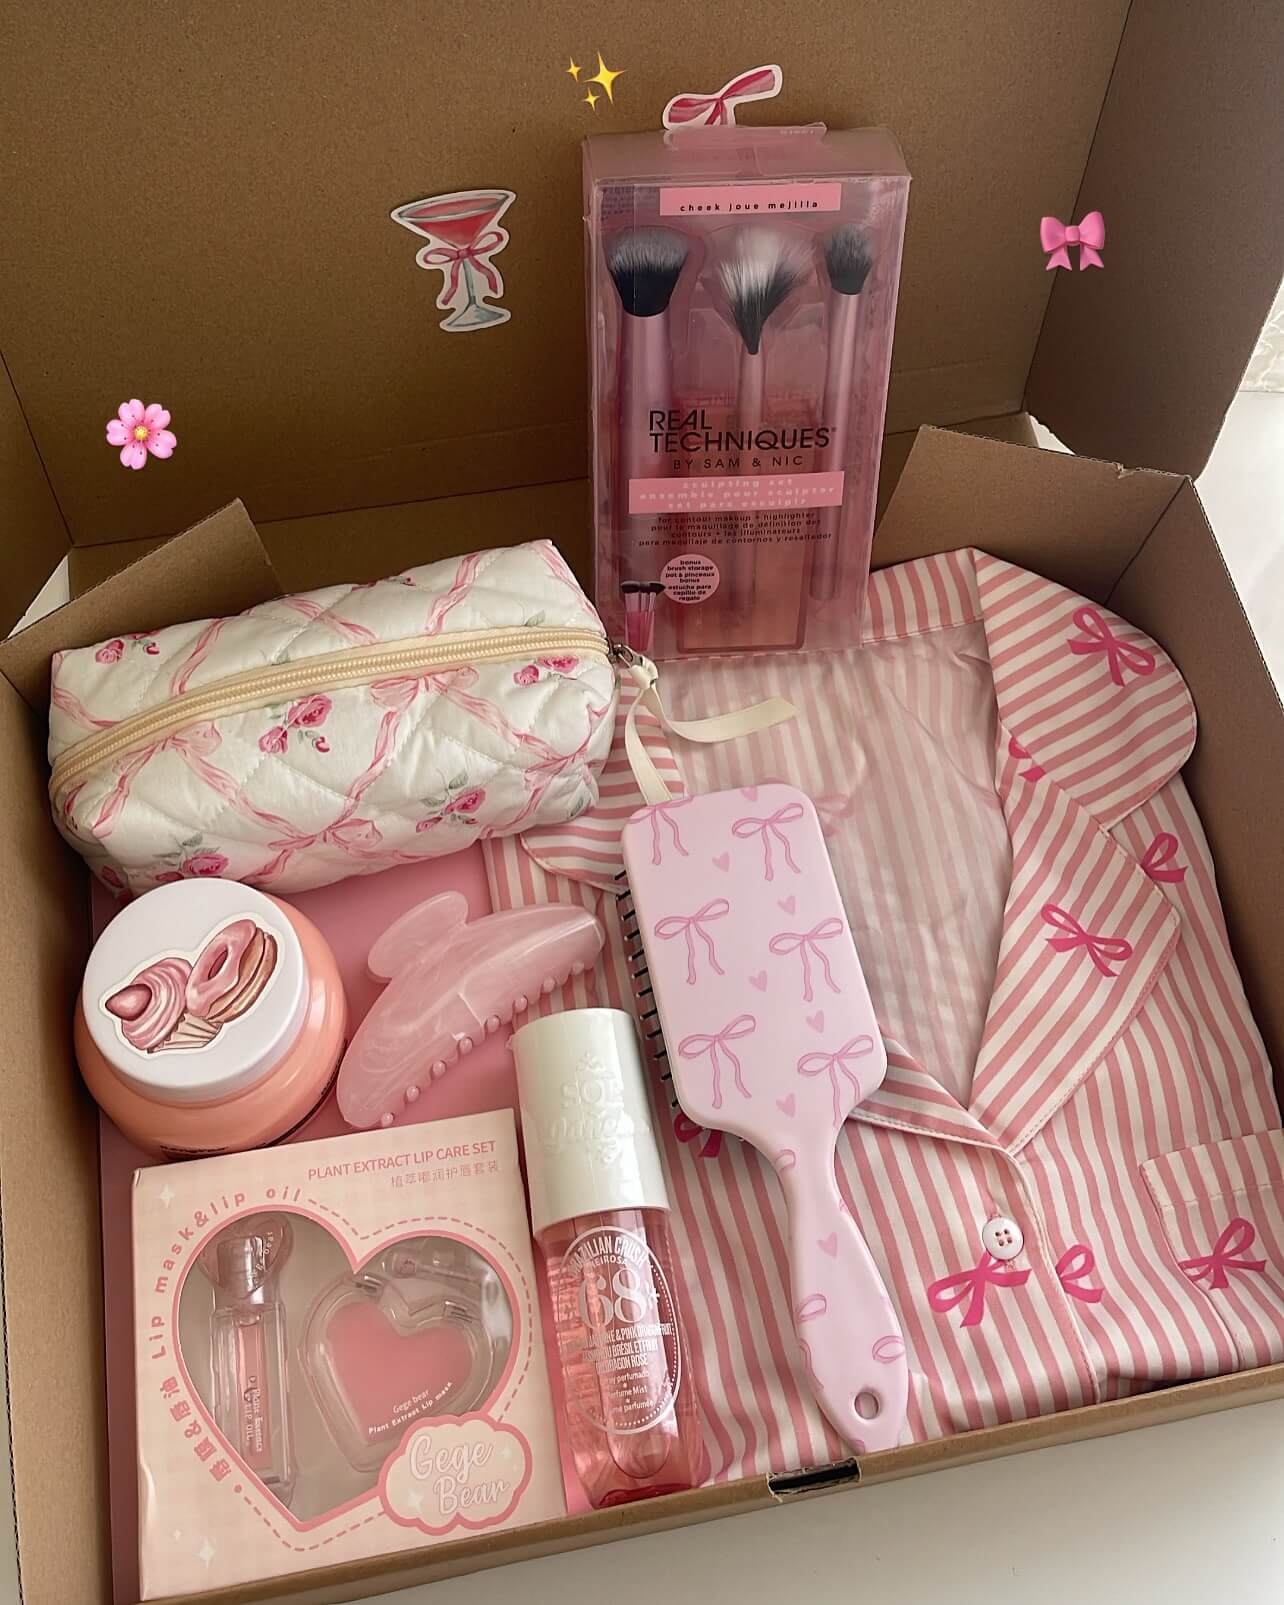
One of the easiest ways to make a homemade gift feel more considered is to make the container part of the gift.
If you’re giving baking supplies, try a mixing bowl.
For a plant lover, use a planter.
A pasta-night gift could sit inside a colander.
Pantry treats might look great in a small wooden crate.
A pretty storage box can hold stationery or self-care products.
Even a reusable tote can work when it fits the person and the theme.
I like this approach because the container has a life after the gifts come out.
It also opens up possibilities when you can’t find a traditional basket in the right size.
Look around your own home before buying anything.
You may already have an unused box, tray, crate, bowl, or container that can be cleaned up and repurposed.
The shape matters more than whether the store called it a gift basket.
Ideally, it should be wide enough to display the contents without being so deep that everything disappears.
If it is too deep, though, don’t abandon it.
You can fake a shallower bottom.
Raise the Bottom Instead of Buying More Gifts
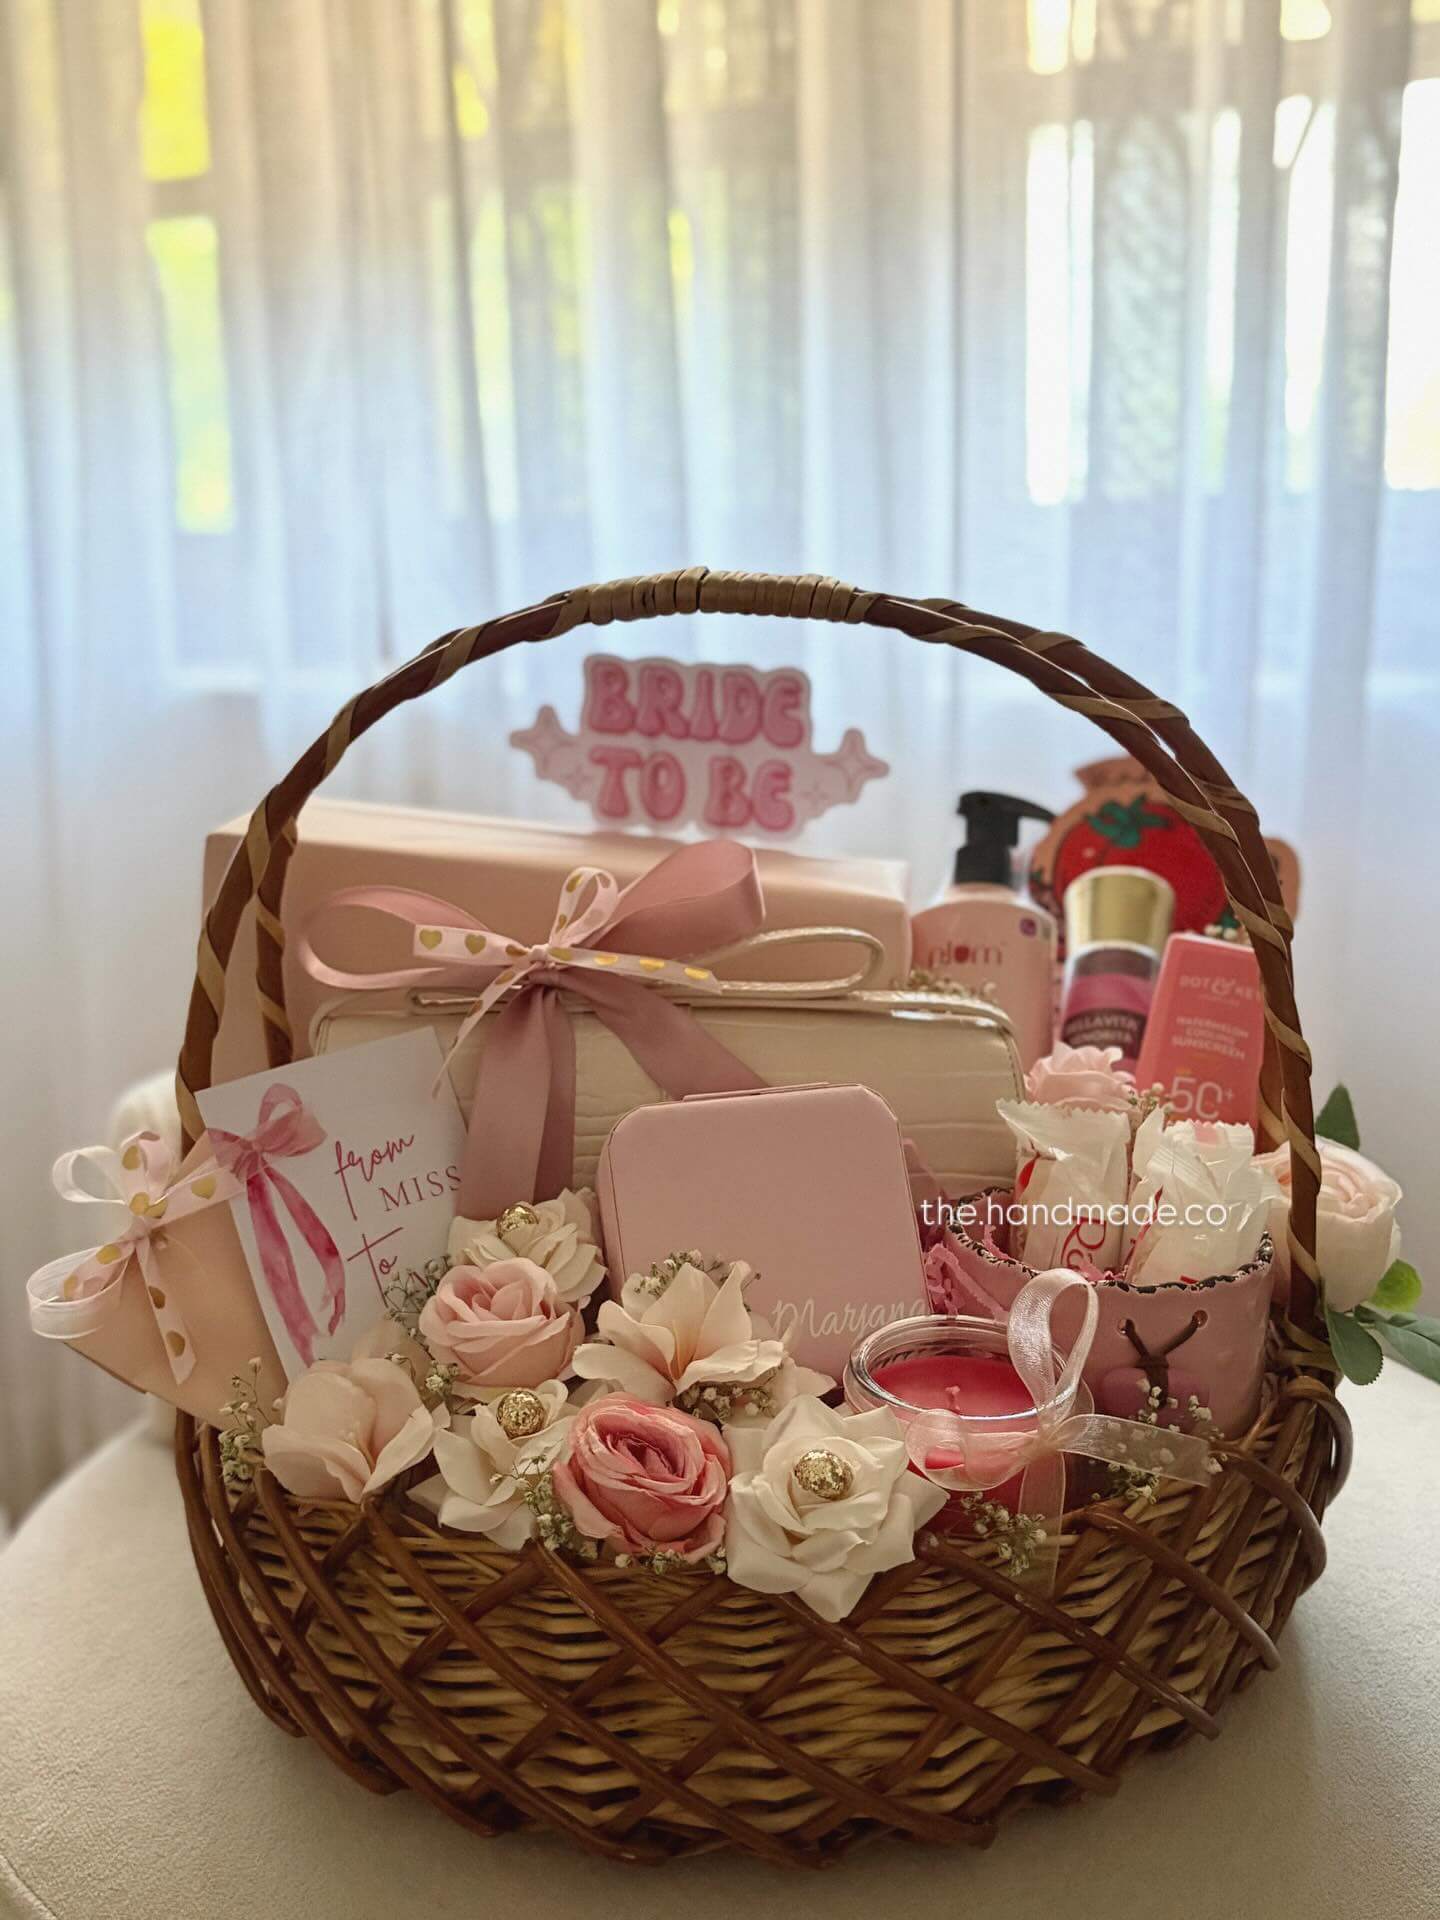
This is one of the easiest tricks in the entire project.
If your basket looks empty, don’t immediately add more products.
First, check whether everything has simply sunk too low.
Homes & Gardens recommends creating a base inside the basket because raising the contents helps keep the items visible, explaining, “This allows your items to sit up higher in the basket so they’re more visible.”
You can do this without filling the entire container with decorative filler.
Put a small empty box upside down in the bottom.
Crumpled kraft paper can work too. Tissue paper can build height underneath, with a prettier layer reserved for the top.
The hidden material doesn’t need to look good.
It just needs to create the right height.
Then place the gifts back inside.
You may be surprised by how much fuller the basket looks without adding a single product.
Once everything is sitting high enough, you can arrange it properly.
Use a High, Middle, and Front Arrangement
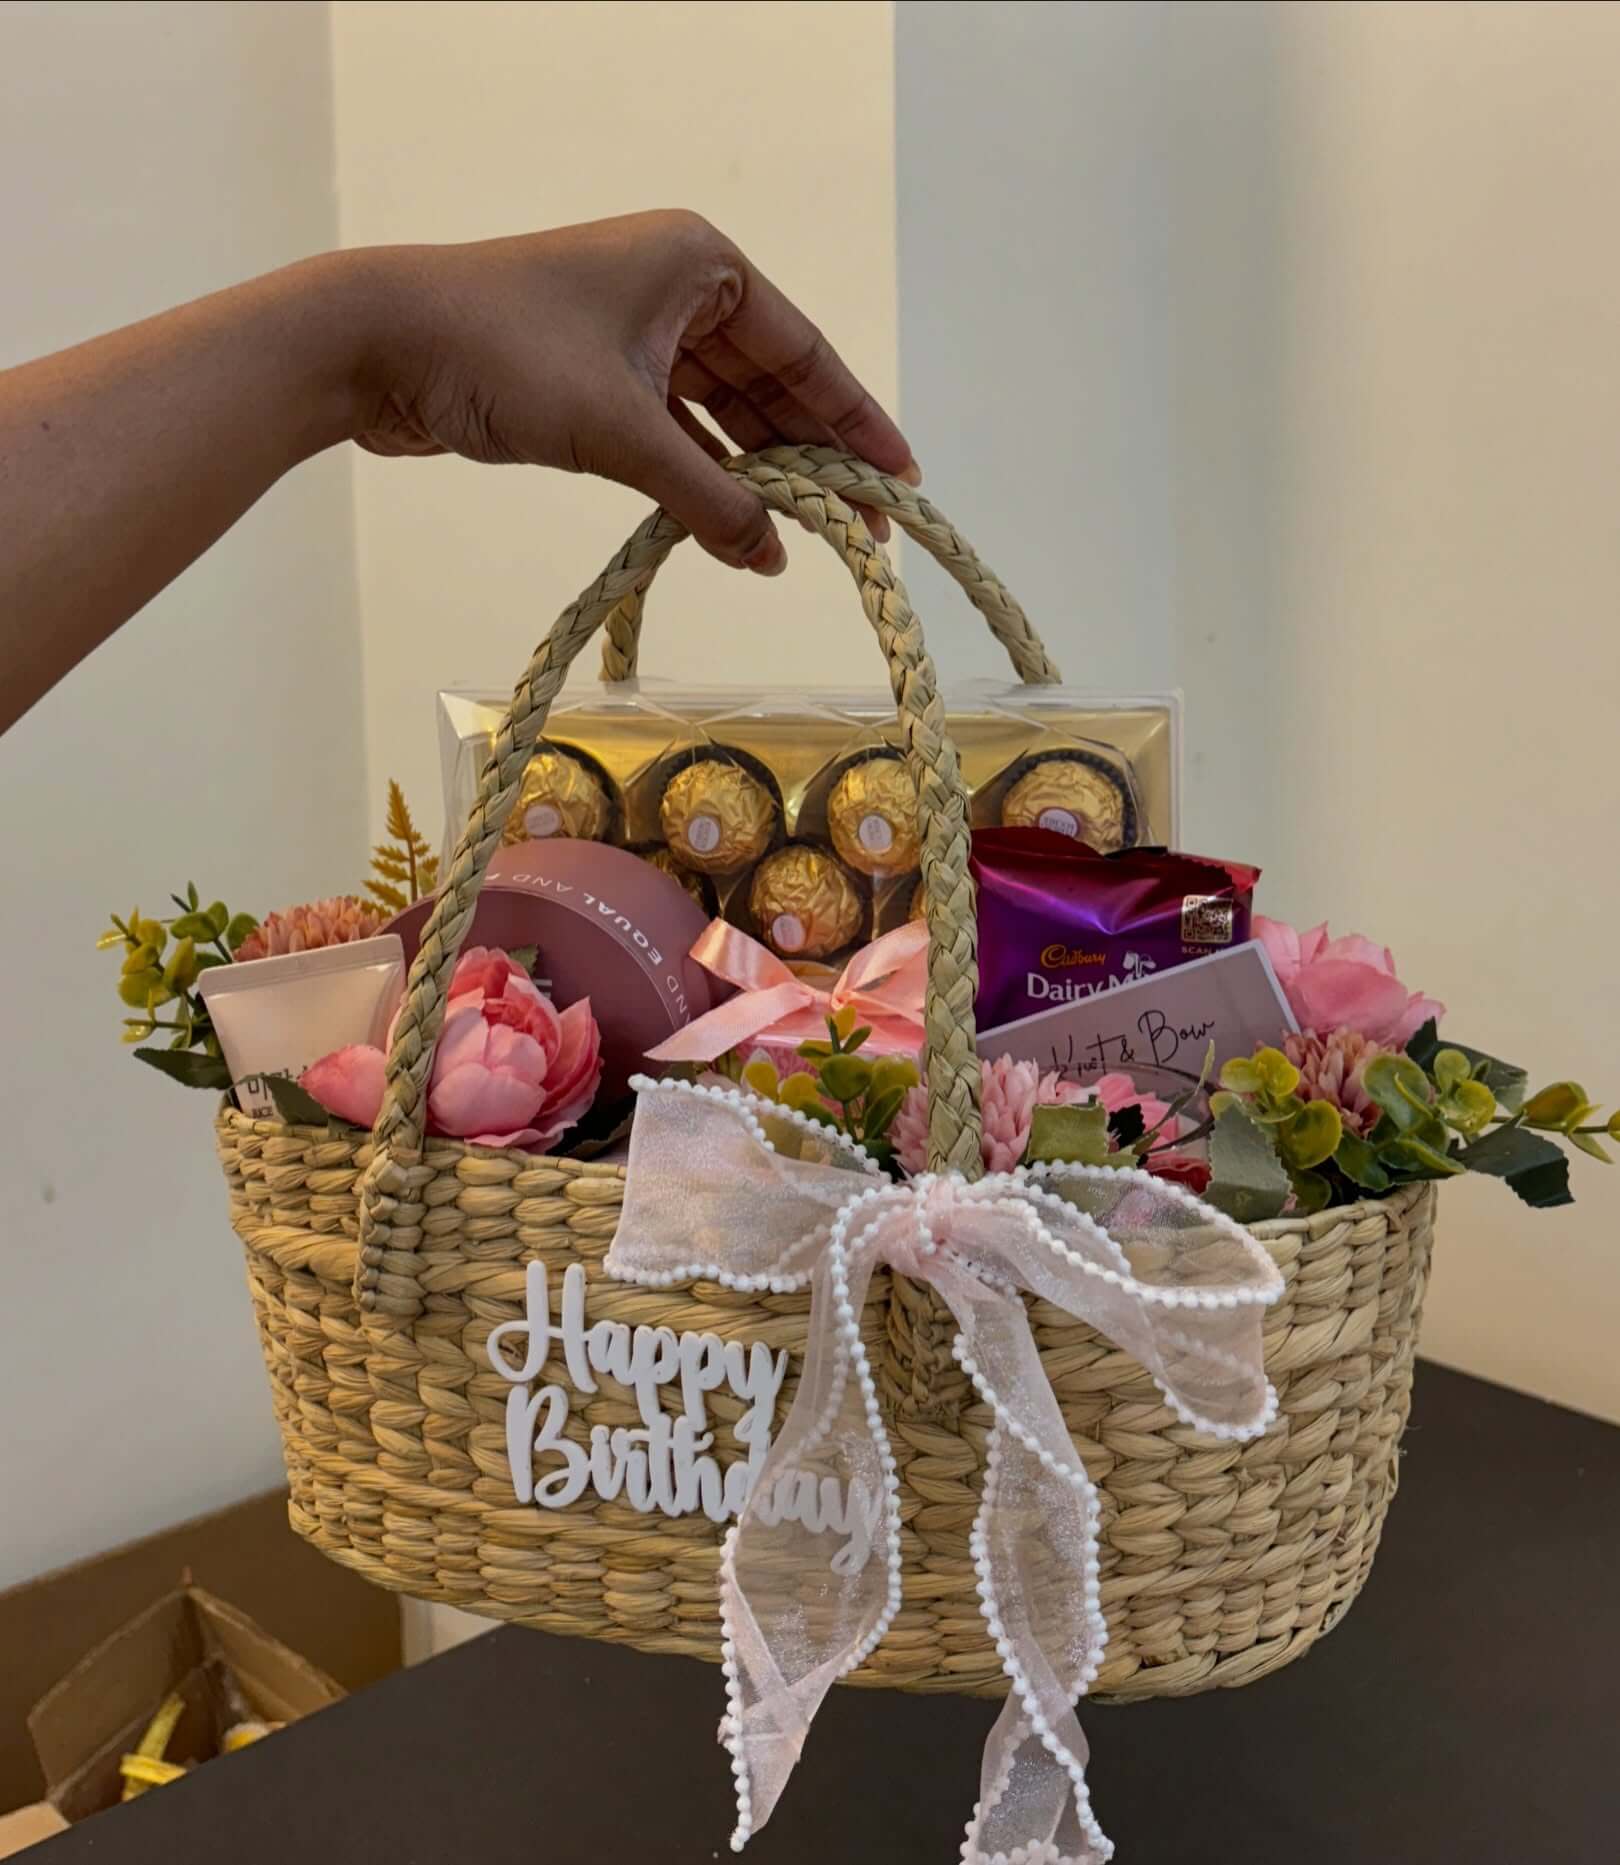
I find it easier to arrange a gift basket when I stop thinking about individual products and start thinking about height.
Put the tallest pieces toward the back.
Medium-height items can sit through the center.
Save shorter pieces for the front.
Don’t make the rows too perfect.
Slightly staggering products tends to feel more relaxed while helping you see what is behind them.
Now stand directly in front of the basket.
Can you identify most of the gifts?
If your nicest chocolate is completely hidden behind the coffee, move it.
If a tiny jar has disappeared behind the mug, raise it slightly or bring it forward.
The recipient shouldn’t have to unpack half the basket before realizing what’s inside.
Keep adjusting until every important item gets its moment.
Then look at the packaging itself.
Turn the Pretty Side Forward
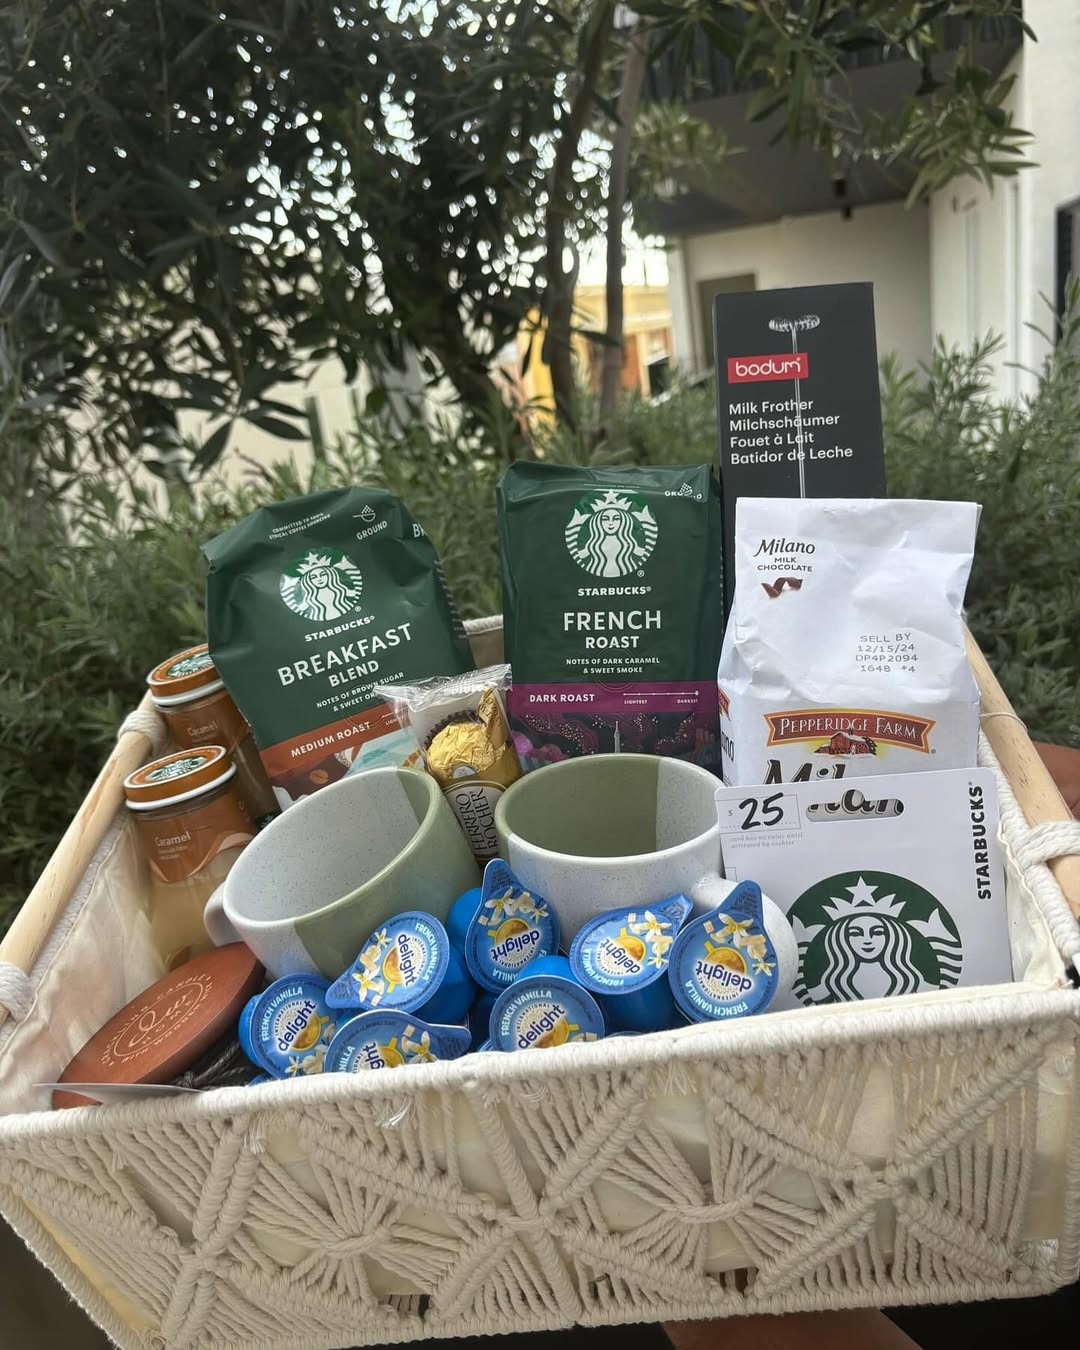
This sounds almost too simple, but it makes a noticeable difference.
Products have a front and a back.
You want the good side.
Turn attractive labels toward the person opening the basket.
Hide barcodes where you can.
Remove price stickers.
Straighten crooked packaging.
If the back of a package is facing forward, rotate it.
Then take a photo with your phone.
I love this trick because a photo makes awkward little gaps much easier to notice.
Look at the image instead of the basket for a moment.
Does one side feel heavier?
Is something leaning strangely?
Does one bright package dominate everything else?
Can you tell what the focal item is?
Fix what bothers you and take another photo.
You’re essentially styling the basket the same way you might style a shelf before photographing it.
Color is usually the next thing I’d check.
Keep the Color Palette Under Control
Gift baskets can get visually noisy very quickly because every product comes with its own packaging.
One box is red.
Another is purple.
The coffee bag is yellow.
The candle has a floral label.
Then you add pink tissue paper and a blue ribbon.
Nothing is necessarily ugly on its own, but together it can feel chaotic.
You don’t need everything to match.
Instead, choose two or three colors that can repeat through the presentation.
The Spruce shares event designer Colleen Kennedy Cohen’s advice about creating a consistent gift-wrapping color palette, including “choosing a consistent color palette for gift wrapping that everyone remembers.”
That idea works beautifully for gift baskets too.
Maybe yours is cream, kraft brown, and green.
Another might use blush, white, and a small amount of gold.
For a moodier basket, black, warm brown, and cream can work together.
You don’t have to reject a perfect gift because its packaging isn’t the right color.
Use tissue, filler, ribbon, and the container to repeat your chosen shades around it.
If one package is extremely loud, place it slightly deeper or beside something visually quieter.
Once the basket feels pulled together, focus on what the recipient is actually getting.
Mix Useful Gifts With Small Treats
A basket filled entirely with practical things can start feeling like groceries.
A basket filled entirely with decorative little luxuries may look beautiful but leave the recipient wondering what they’ll actually use.
I prefer a mix.
Pair coffee with a mug.
Hand soap can sit beside a soft hand towel.
Pasta and sauce can be joined by a small serving spoon.
Gardening gloves can sit beside a nicer hand cream.
A notebook feels more complete with a good pen.
Think of it as giving them something they’ll use and something they’ll enjoy using.
This can also help when you’re stuck while shopping.
Look at the main item and ask what’s missing from the experience.
If you’ve chosen tea, what would make sitting down with that tea nicer?
If you’ve chosen baking ingredients, what would make using them easier?
If the basket already feels useful, maybe the missing piece isn’t another product at all.
Maybe it needs something personal.
Add One Thing That Could Only Be for Them
This is the part that can make an inexpensive basket feel more meaningful than an expensive premade one.
Add one detail that wouldn’t make sense if you gave the basket to somebody else.
It could be their favorite candy.
Maybe it’s a printed photo.
You could include a handwritten recipe, a tiny reminder of a trip you took together, or something connected to an inside joke.
A handwritten note works too.
Tell them why you chose the basket.
It doesn’t have to be sentimental if that isn’t your relationship. Even a funny two-line note can make the gift feel unmistakably theirs.
I would choose one personal detail over three extra filler products every time.
And once you’ve added it, resist the temptation to keep shopping.
Know When the Basket Is Finished
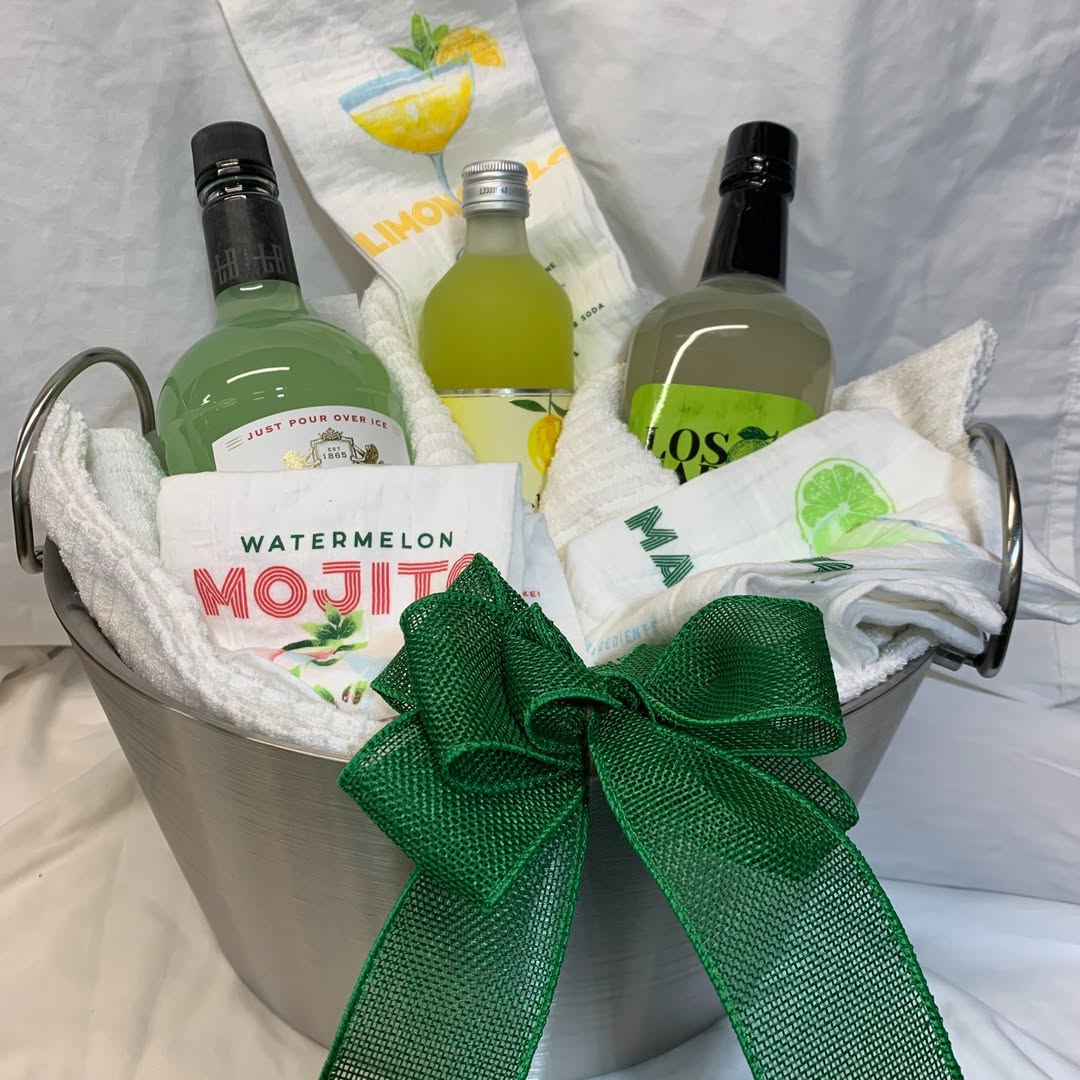
There is always room for one more little thing.
That doesn’t mean you need it.
Step away from the basket and look at it as a complete gift.
Is there a clear focal point?
Does the theme make sense?
Does the container look comfortably full?
Can you see the gifts?
If those answers are yes, another product may only create clutter.
This is where people often spend money trying to solve a styling problem.
If there’s an awkward gap, adjust the arrangement first.
Move a medium item forward.
Raise a small product.
Tuck in a little tissue or filler.
Turn a package slightly.
Don’t buy another candle just because you can see two inches of empty space.
Knowing when to stop is part of making the basket look polished.
Now all that’s left is finishing the outside.
Wrap It Without Covering Up the Work You Just Did
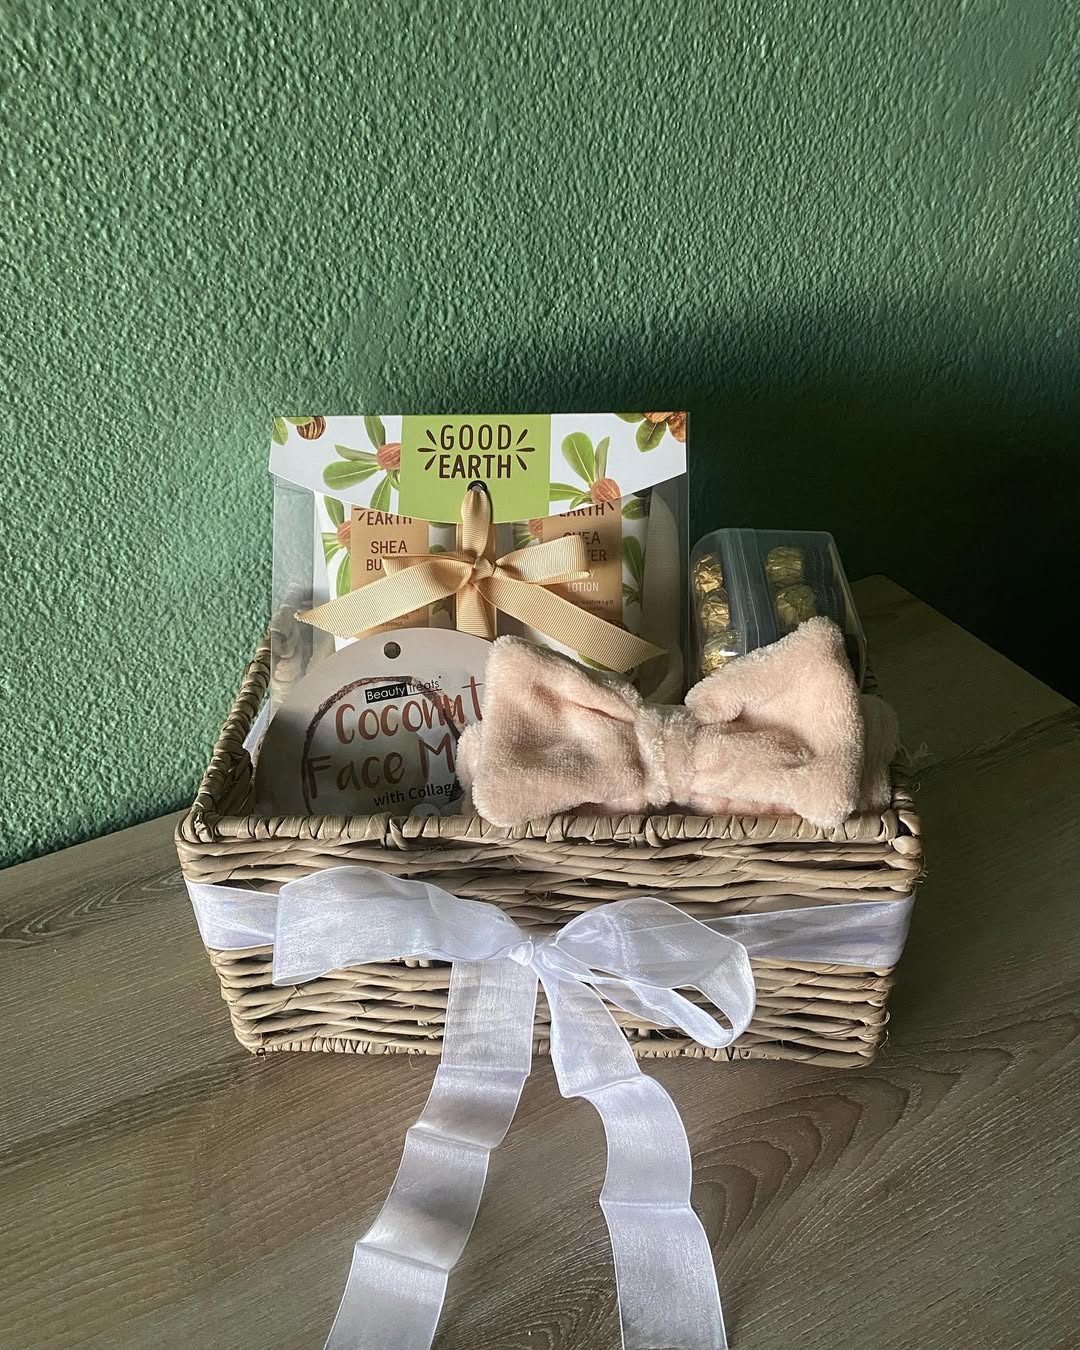
After spending time arranging everything, don’t bury the basket under decorations.
If the gift needs to travel, clear wrap can help hold everything together while keeping the contents visible.
Keep the top loose enough that you’re not crushing taller products.
Then gather the wrap neatly and finish it with ribbon.
You don’t need five kinds of ribbon.
One that works with your color palette is enough.
A handwritten tag can add more warmth than another decorative bow.
If you’re handing the basket directly to someone and everything sits securely, you may decide you don’t need full wrapping at all.
A ribbon around the container or a simple tag may be plenty.
Before you call it finished, give the basket one last look.
Do a Five-Minute Expensive-Looking Check
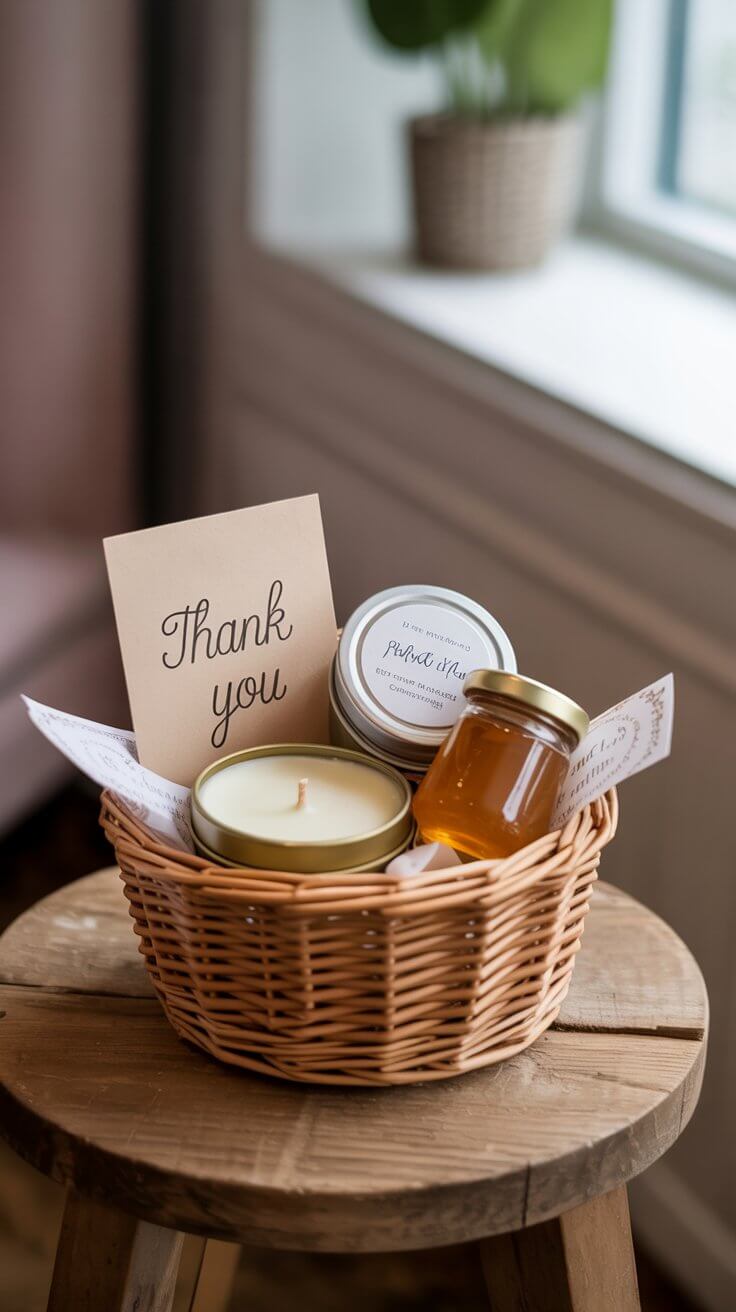
Put the basket somewhere with good light and stand a few feet away.
Where does your eye go first?
Ideally, there’s an obvious answer.
Then move closer.
Can you see most of the gifts without touching anything?
Check the labels. Look for price stickers you missed. Turn visible barcodes away. Straighten anything that shifted while you were wrapping.
Now look at the colors.
Does anything feel strangely disconnected from the rest?
Check the empty spaces too.
A little breathing room is fine. A large hole in the center probably needs an arrangement change.
Finally, ask yourself the question that matters most.
Could I tell who this gift was made for?
If the basket feels personal, useful, and visually pulled together, you’re done.
Don’t add another thing.
The Best Gift Baskets Feel Personal Before They Feel Expensive
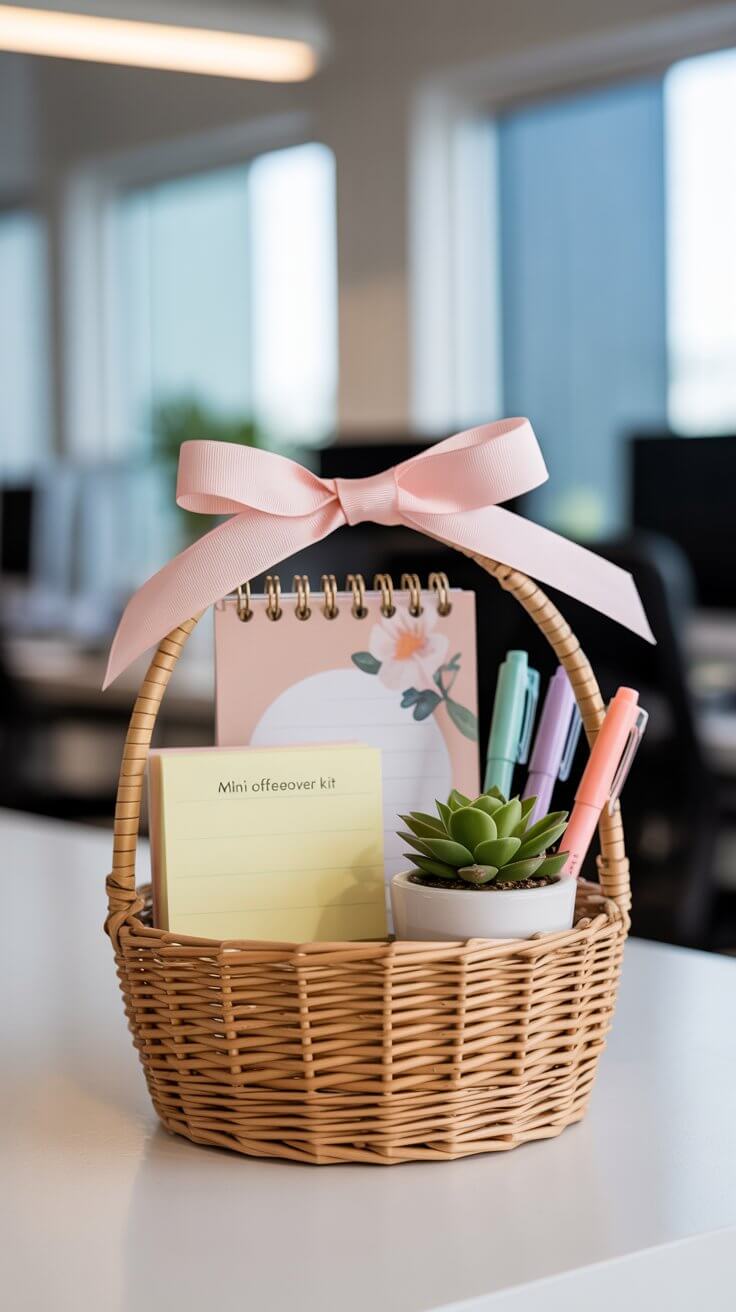
You don’t need luxury products to make a beautiful gift basket.
Start with the person.
Give the basket a little story. Choose one item to lead the arrangement. Raise the bottom so everything stays visible, keep the colors from fighting with each other, and add something that feels unmistakably personal.
Then stop before the basket gets crowded.
That’s the part I think matters most.
A gift basket shouldn’t impress someone because you managed to fit the most things inside it.
It should make them look through it and think, you really know me.
And that feeling doesn’t have to be expensive at all.
Also read:
Plant Gift Basket Ideas That Actually Feel Thoughtful and Personal
First Home Gift Basket Ideas That Actually Feel Thoughtful and Useful